
How to merge rasters
When you are uploading raster data, you can choose to merge them together.
Recommendations when and when NOT to merge rasters
Merging is a SLOW process. Most of the time it is always better to process the rasters separately and create a group share link. This way the orthos look like they are merged, but in reality, they are separate
- Merge when
- You use Pointscene as a primary 2D map viewer in your project and you need to have easy layer control
- You have a collection of orthophotos that is in around 2-20 pieces
- The land area they cover altogether is about max 5 x 5 km
- Do NOT merge when
- You need Pointscene mainly for WMS / WMTS / XYZ sharing
- You have more than 20 separate pieces
- The separate pieces have gaps in between them
- The land area the orthos cover is larger than about 5 km x 5km
- About 1-3 flights with a basic quadrotor drone is recommended
When you merge rasters together, it will create a single layer output that can be shared as a single WMS for example.
This feature is perfect for tiled orthophotos, with multiple small rasters next to each other.
- Go to Upload files and add multiple raster files
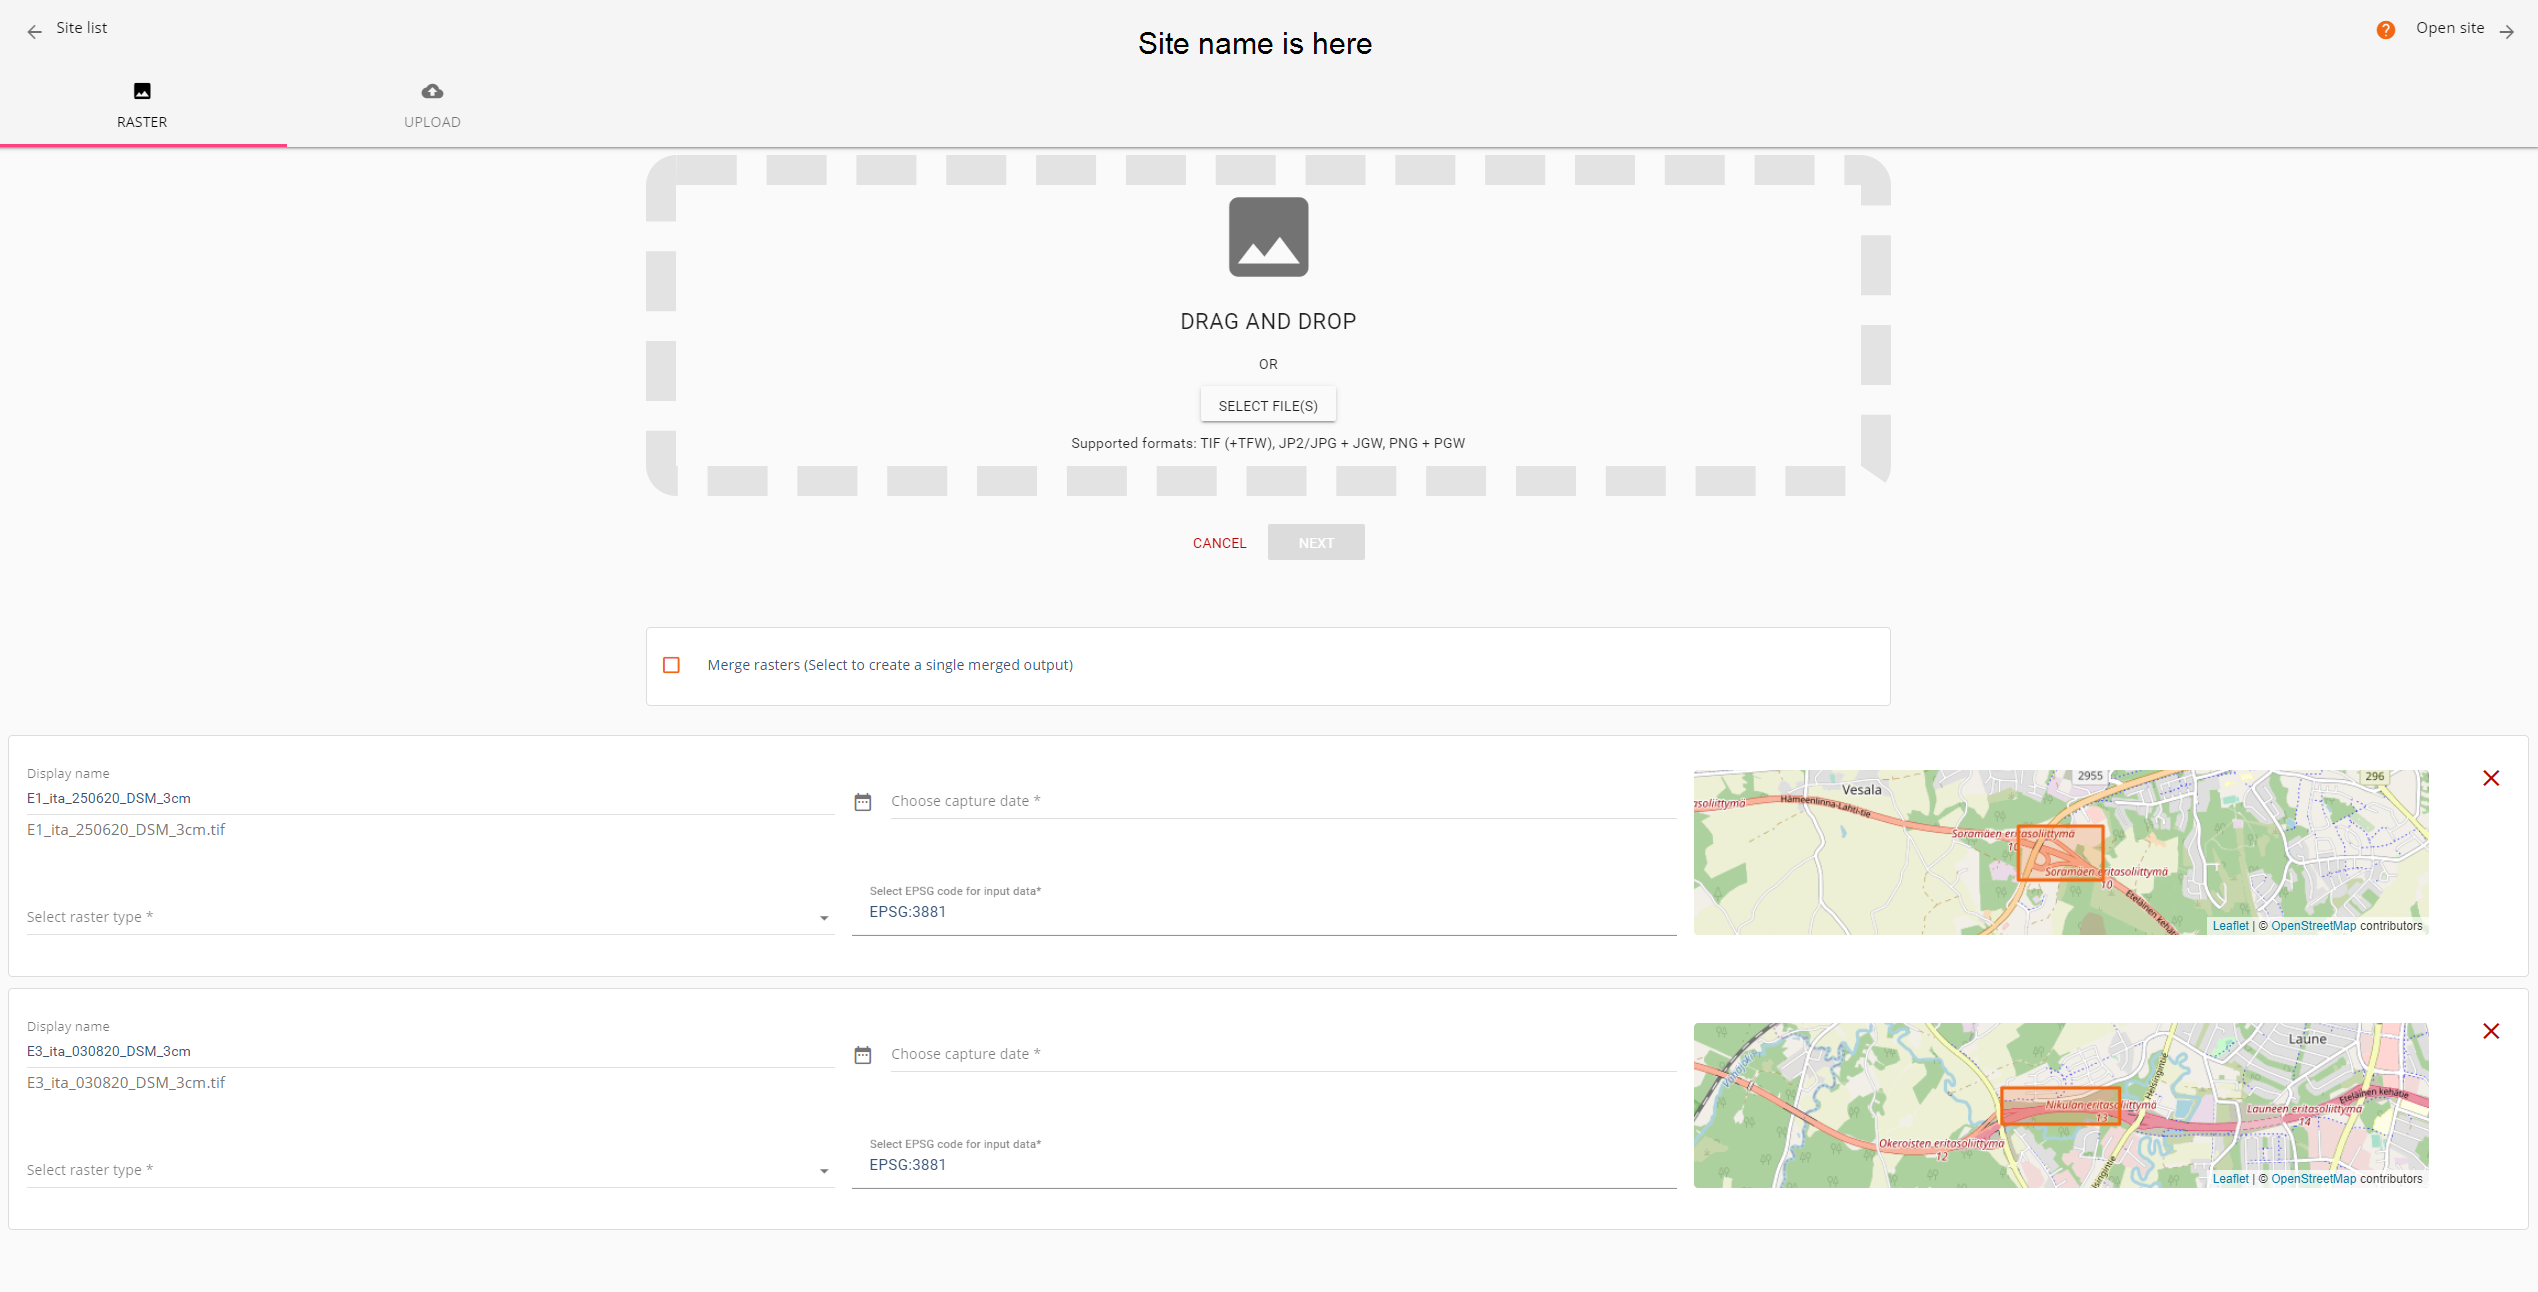
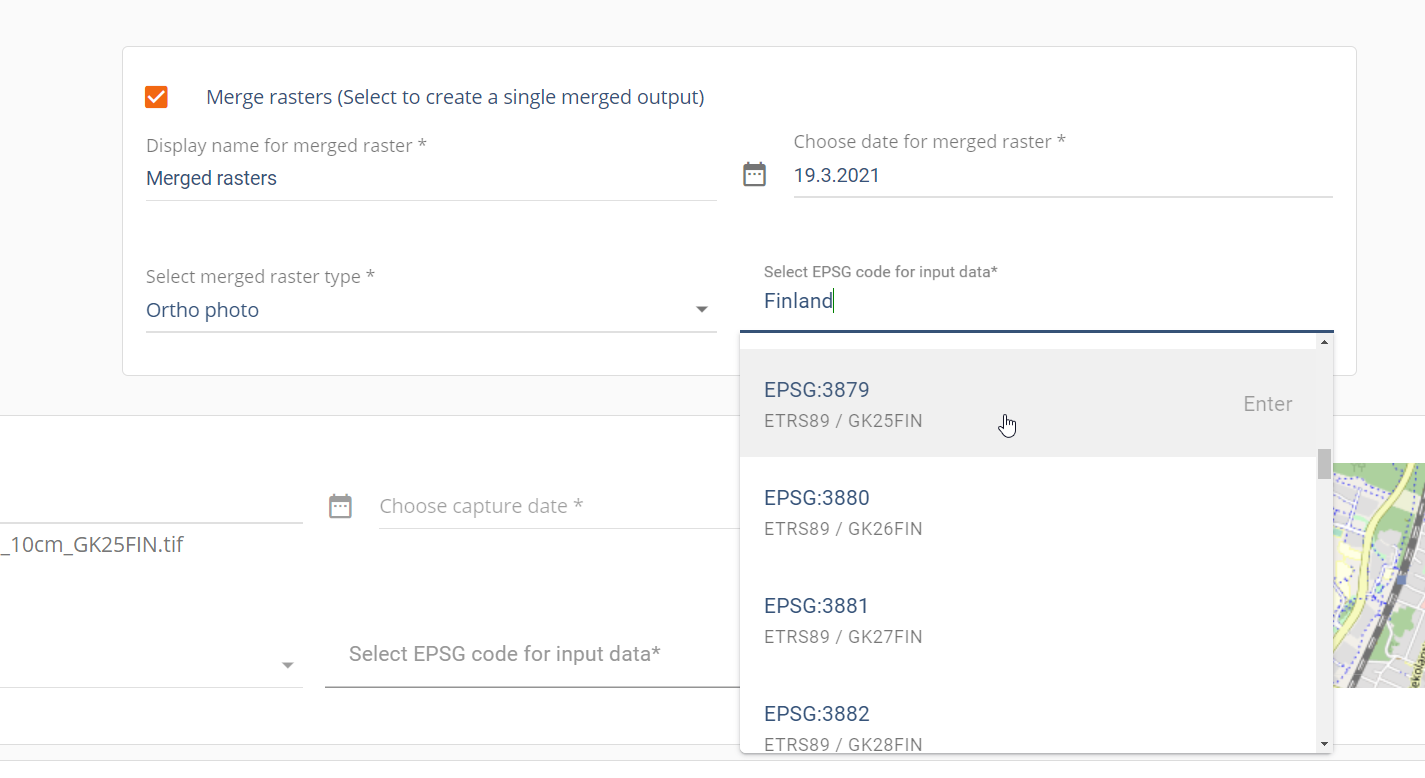
2. At the top open Advanced and then click Merge rasters and provide all information.
Tip! If you don’t remember the EPSG code, you can turn the merge off and see what Pointscene has read from the raster information automatically. When you turn the Merge back on, it will remember the your settings.
3. Click Next and Upload. Make sure the upload is completed before leaving the page.
Note!
Rasters must be the same type (ortho, DSM,..), format and in the same projection. There are also some size limitations for merging data.


