
How to convert ECW to GeoTIFF
ECW is a great format for big rasters, as it has a small file size compared to GeoTIFF and other rasters. Unfortunately, ECW is not an open format and therefore cannot be used in all software and in Pointscene.
Here is how you can covert an ECW to a GeoTIFF (.tif) file:
Instructions:
You will need desktop software to handle the conversion and one option is to use the free QGIS-program.
Download QGIS here: https://qgis.org/en/site/forusers/download.html
1. Open QGIS and add (e.g. drag-and-drop) your EWC file onto the map
2. From the top menu select Raster > Conversion > Translate (Convert format)

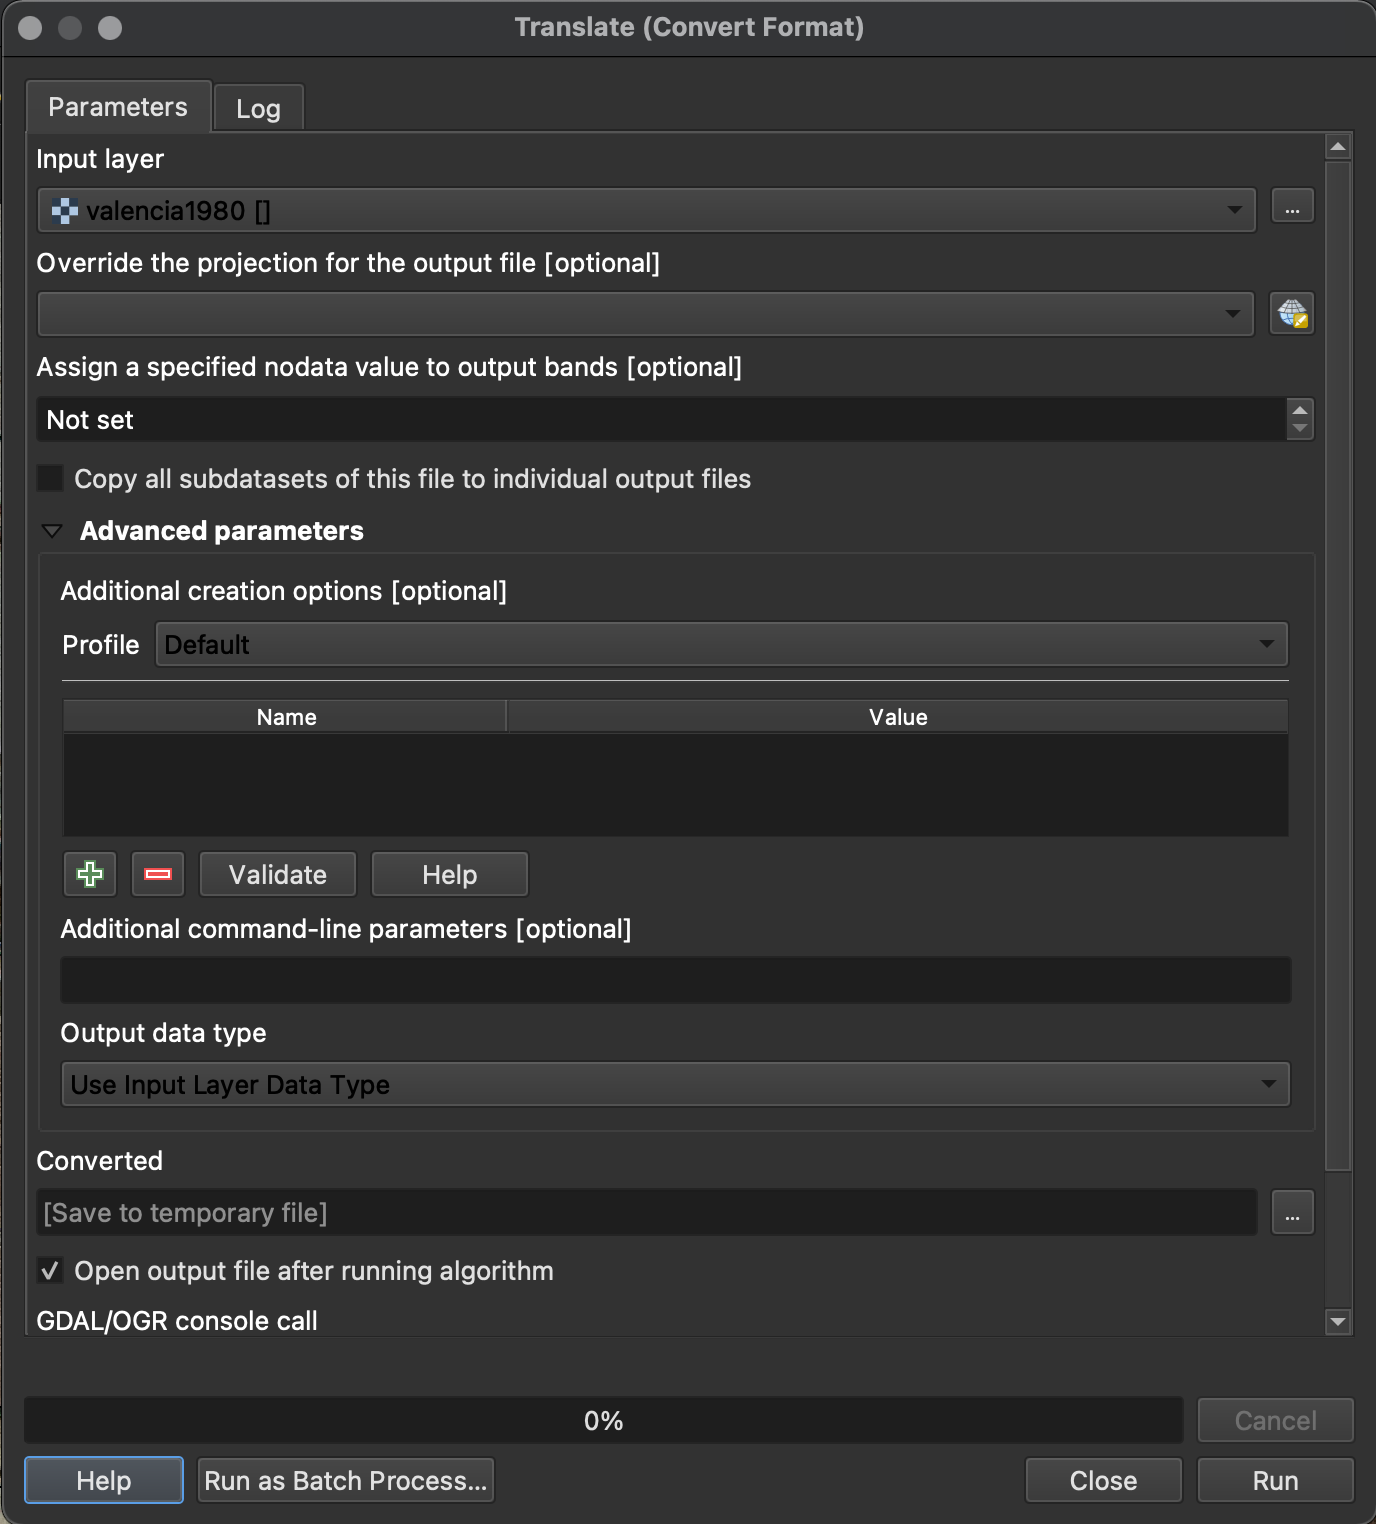
3. In the Translate window select:
a) Input layer: Select your ECW layer
b) Override the projection for the output file: choose a projection (optional! Needs to be projected, WGS84 will not work, but Web Mercator or other local projections will)
c) Assign a specified nodata value to output bands: If the background is black, select the nodata value to be 0
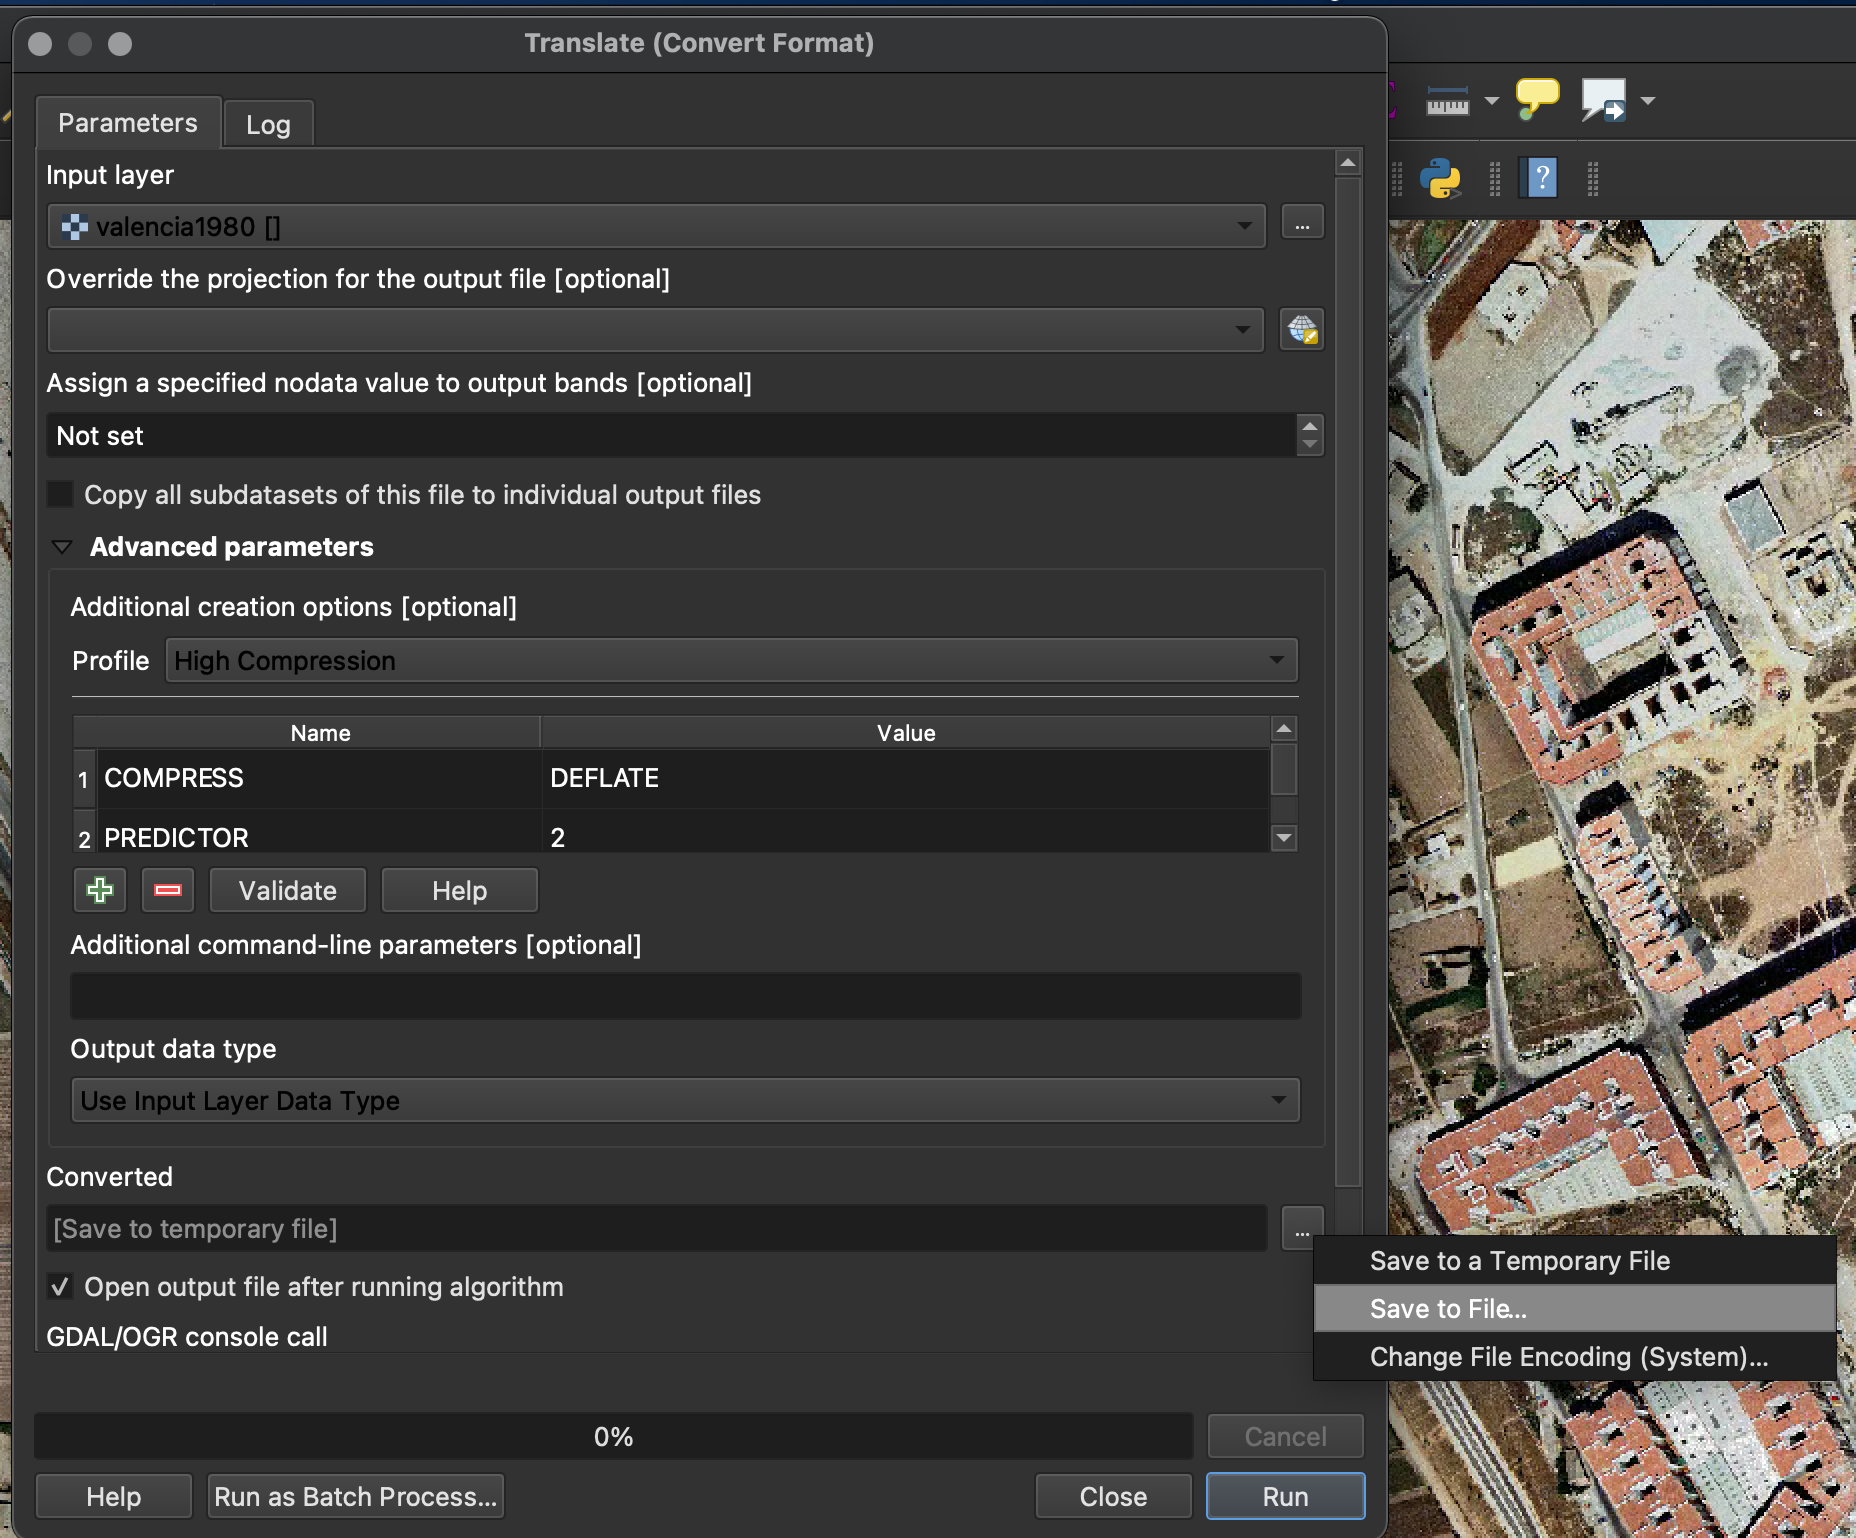
4. Additional creation options: Choose High Compression

5. Converted: Click on the (…) button and select Save to file
The delfalt format should be TIF files (.tiff).
6. Click Run. Conversion time might take minutes or even hours depending on the file size. Make sure you have enough space on your computer when handling large rasters.
Now you have converted the ECW to Geotiff.
Next Steps
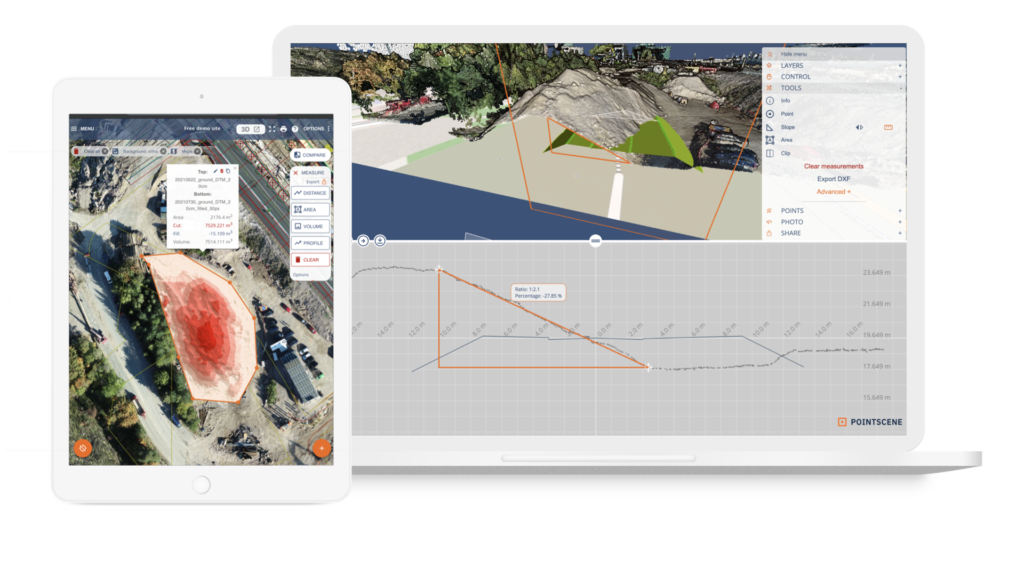
Now you are ready to upload raster to Pointscene and easily create WMS, WMTS links for your data. Also, you can measure and compare orthos using Pointscene web.
Optional approach
With big areas (e.g. over 5km long road construction sites), it might make sense to clip the raster to smaller pieces to speed up the process (e.g. 15km road ortho, cut into 4 pieces takes 30min to process compared to 5h+ as one big piece).
In this process, it is good to use the “Clip raster by Mask Layer” tool.
- First, you need to create a polygon layer with the areas. Make sure areas are snapped together.
- Select one area
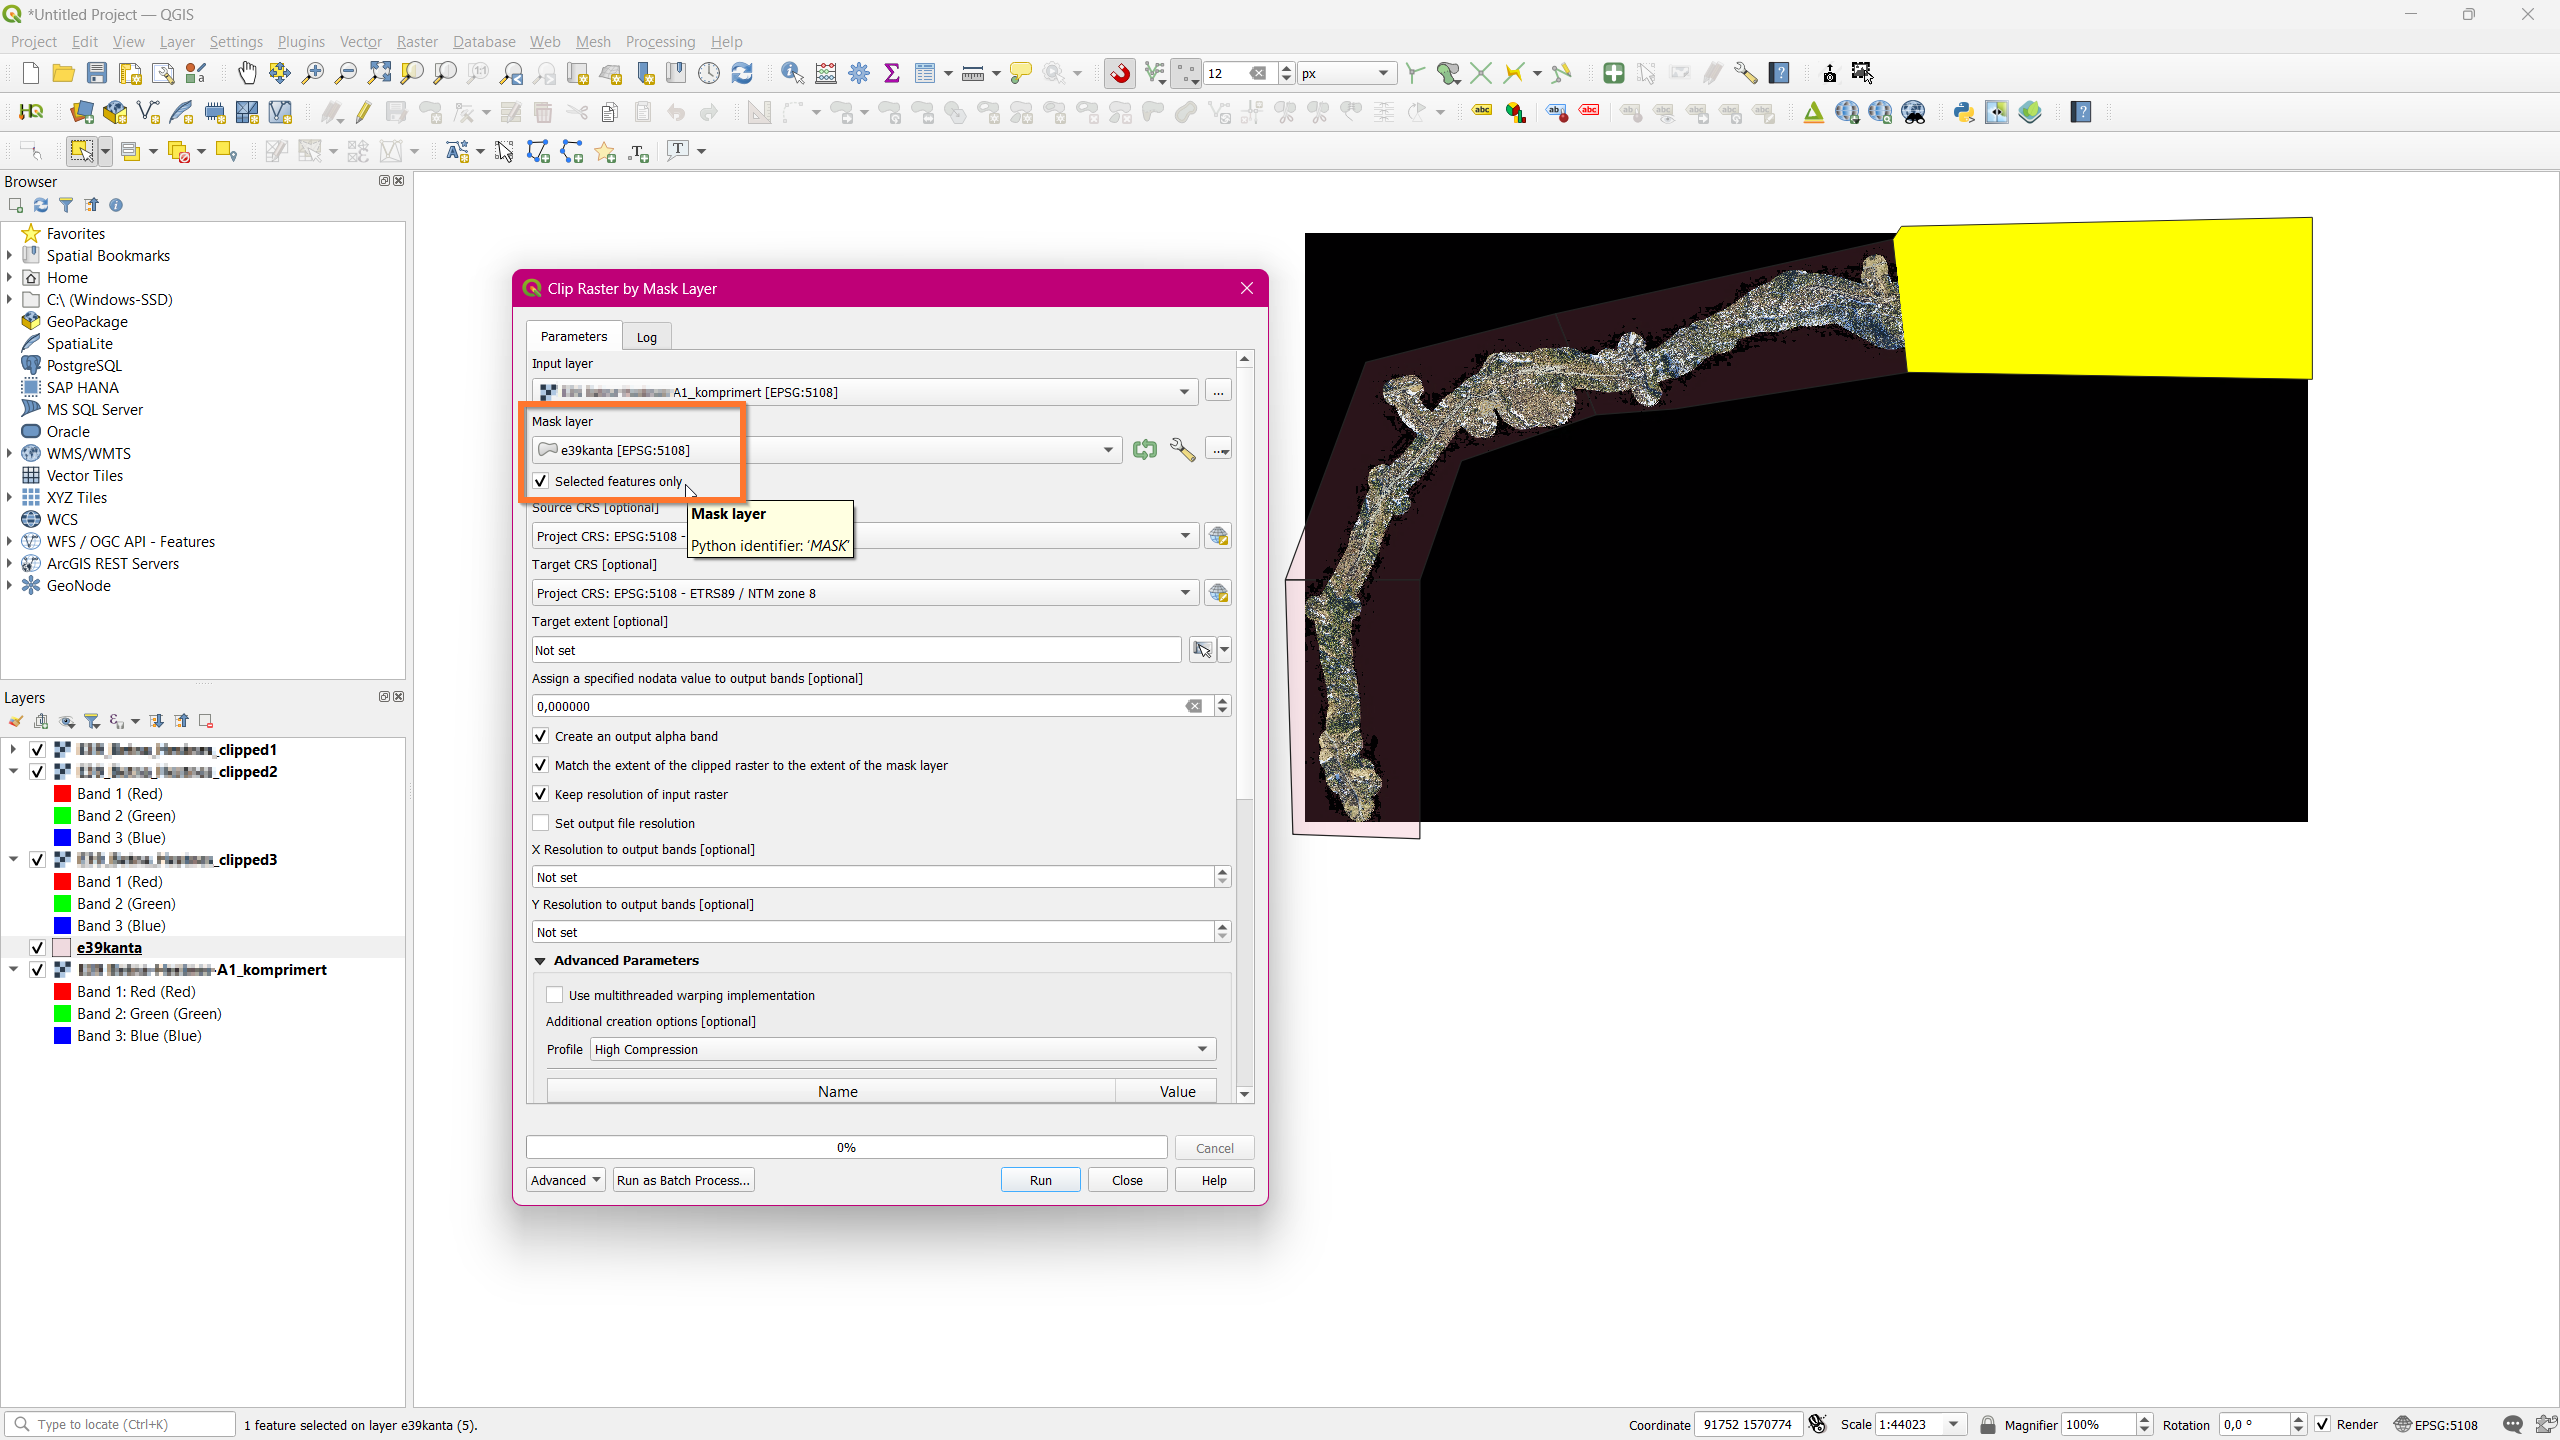
- Open tool: Raster > Extraction > Clip Raster by Mask Layer
- Insert raster,mask polygon layer and the following values.
- Mask Layer: select “Selected features only”.
- Assign a specified nodata value to output bands: For black: 0
- Select “Create an output alpha band”,
- Select “Match the extent of the clipped raster to the extent of the mask layer
- Select “Keep resolution of input raster
- Advanced Parameters: Profile: High compression
- Clipped (mask) (output file): save as filename_clipped_part1.tif
- Run (do NOT close window when done!)
- Rerun again with all areas:
- Select the next polygon area on the map
- Select “Change parameters”, and change the output name to “….part2”.
- Run again as many times as needed.
Now you are ready to upload raster to Pointscene and easily create WMS, WMTS links for your data. Also, you can measure and compare orthos using Pointscene web.