Trimble Connect point cloud integration (Web & Desktop)
NOTE! All users need to update their .purl files that have been created before the 21st of November 2023!
(Read the announcement)
Web edition:
- One your point cloud is uploaded open the site and go to Publish and manage data
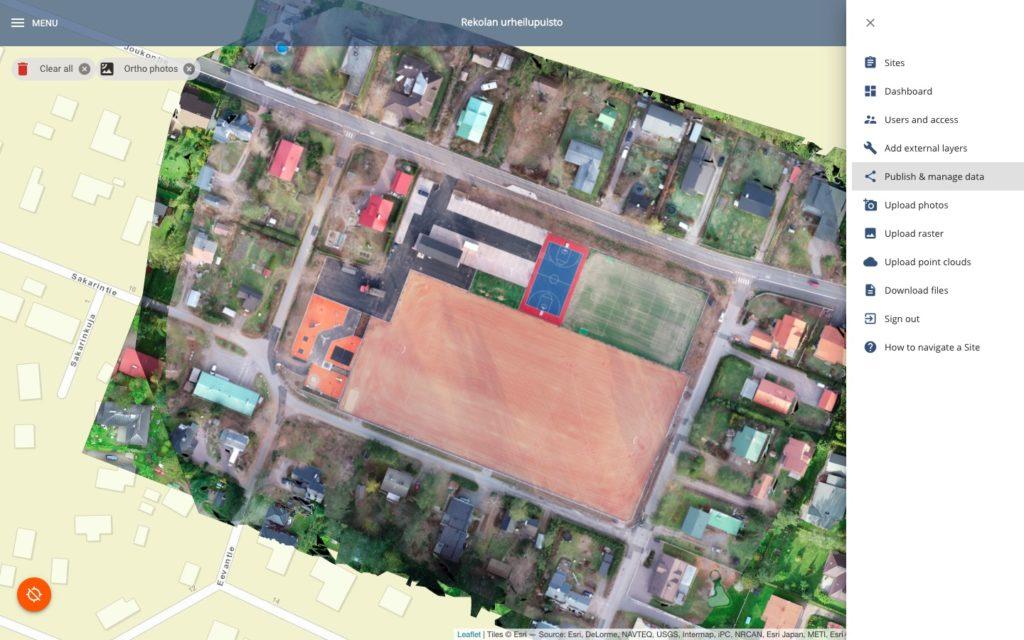
![](https://pointscene.com/wp-content/uploads/2020/03/Publish_and_manage_data1-1024x640.jpeg)
2. Find your layer
3. Click on Trimble Connect link -button to download the .purl text file
![](https://pointscene.com/wp-content/uploads/2023/11/Näyttökuva-2023-11-21-kello-10.02.04-1-1024x193.png)
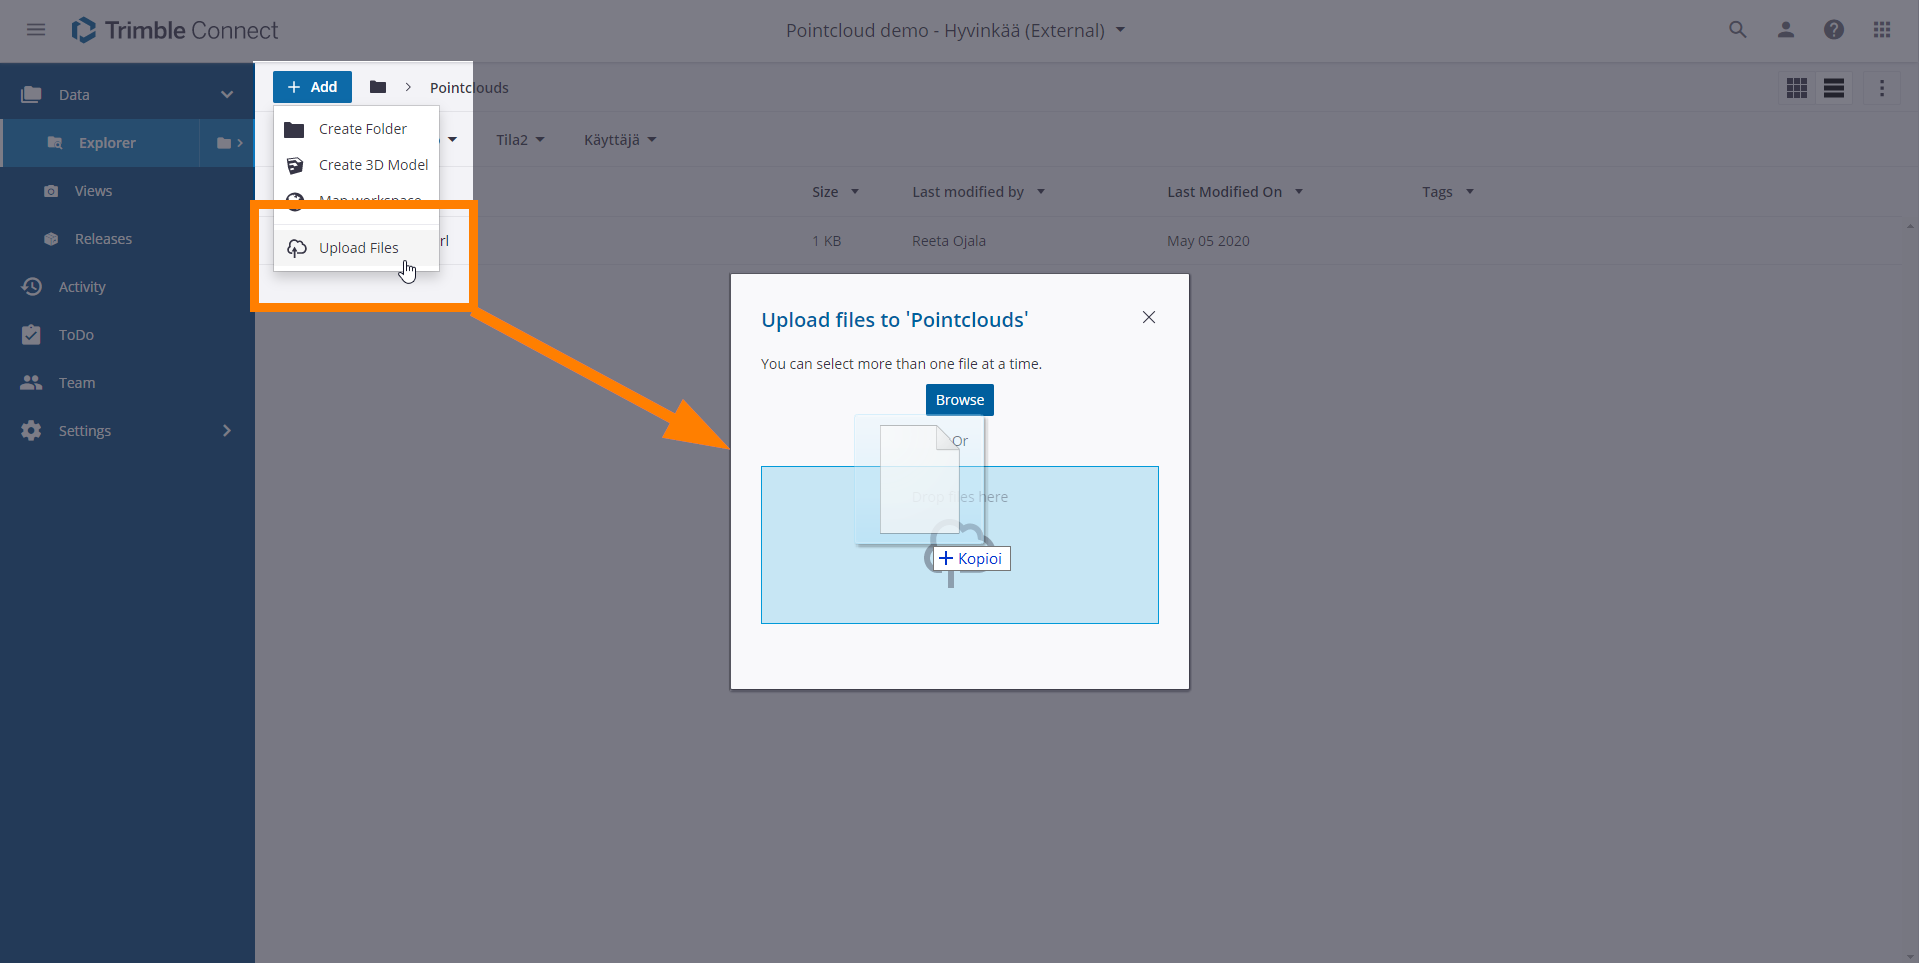
4. Upload the .purl file to your Connect Project
![](/wp-content/uploads/2020/04/trimble-connect.png)
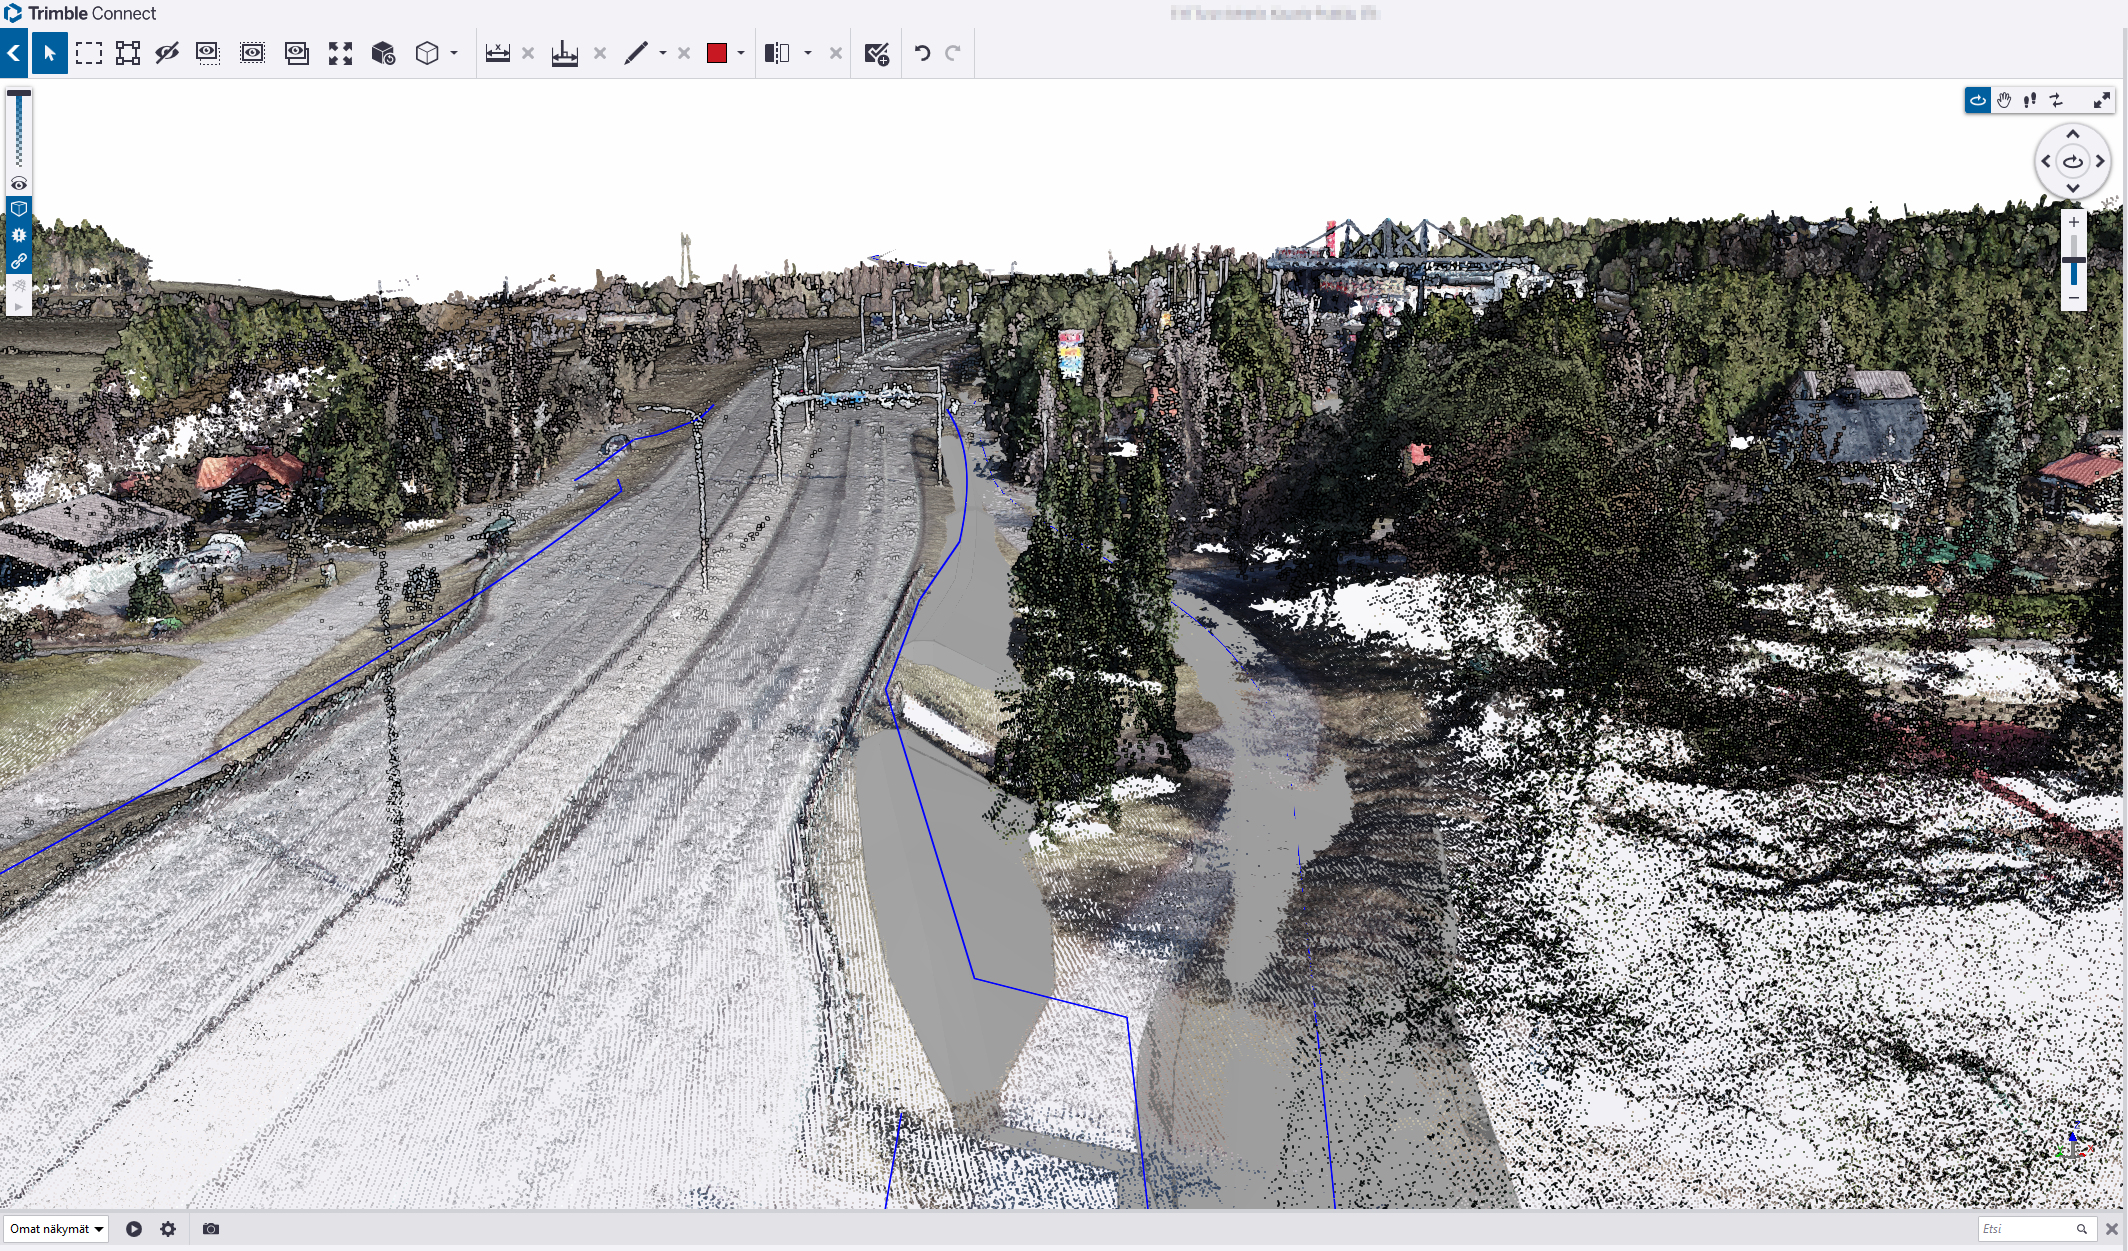
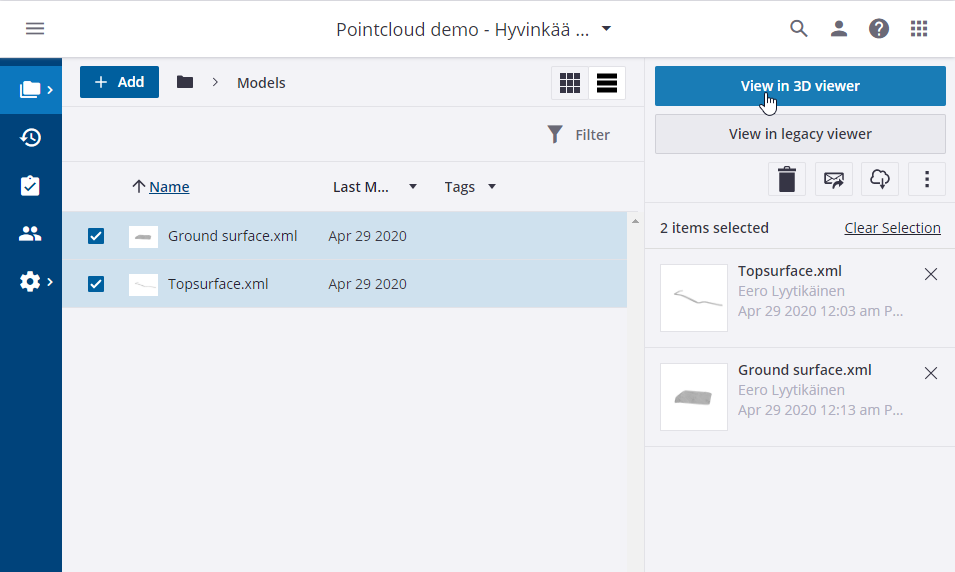
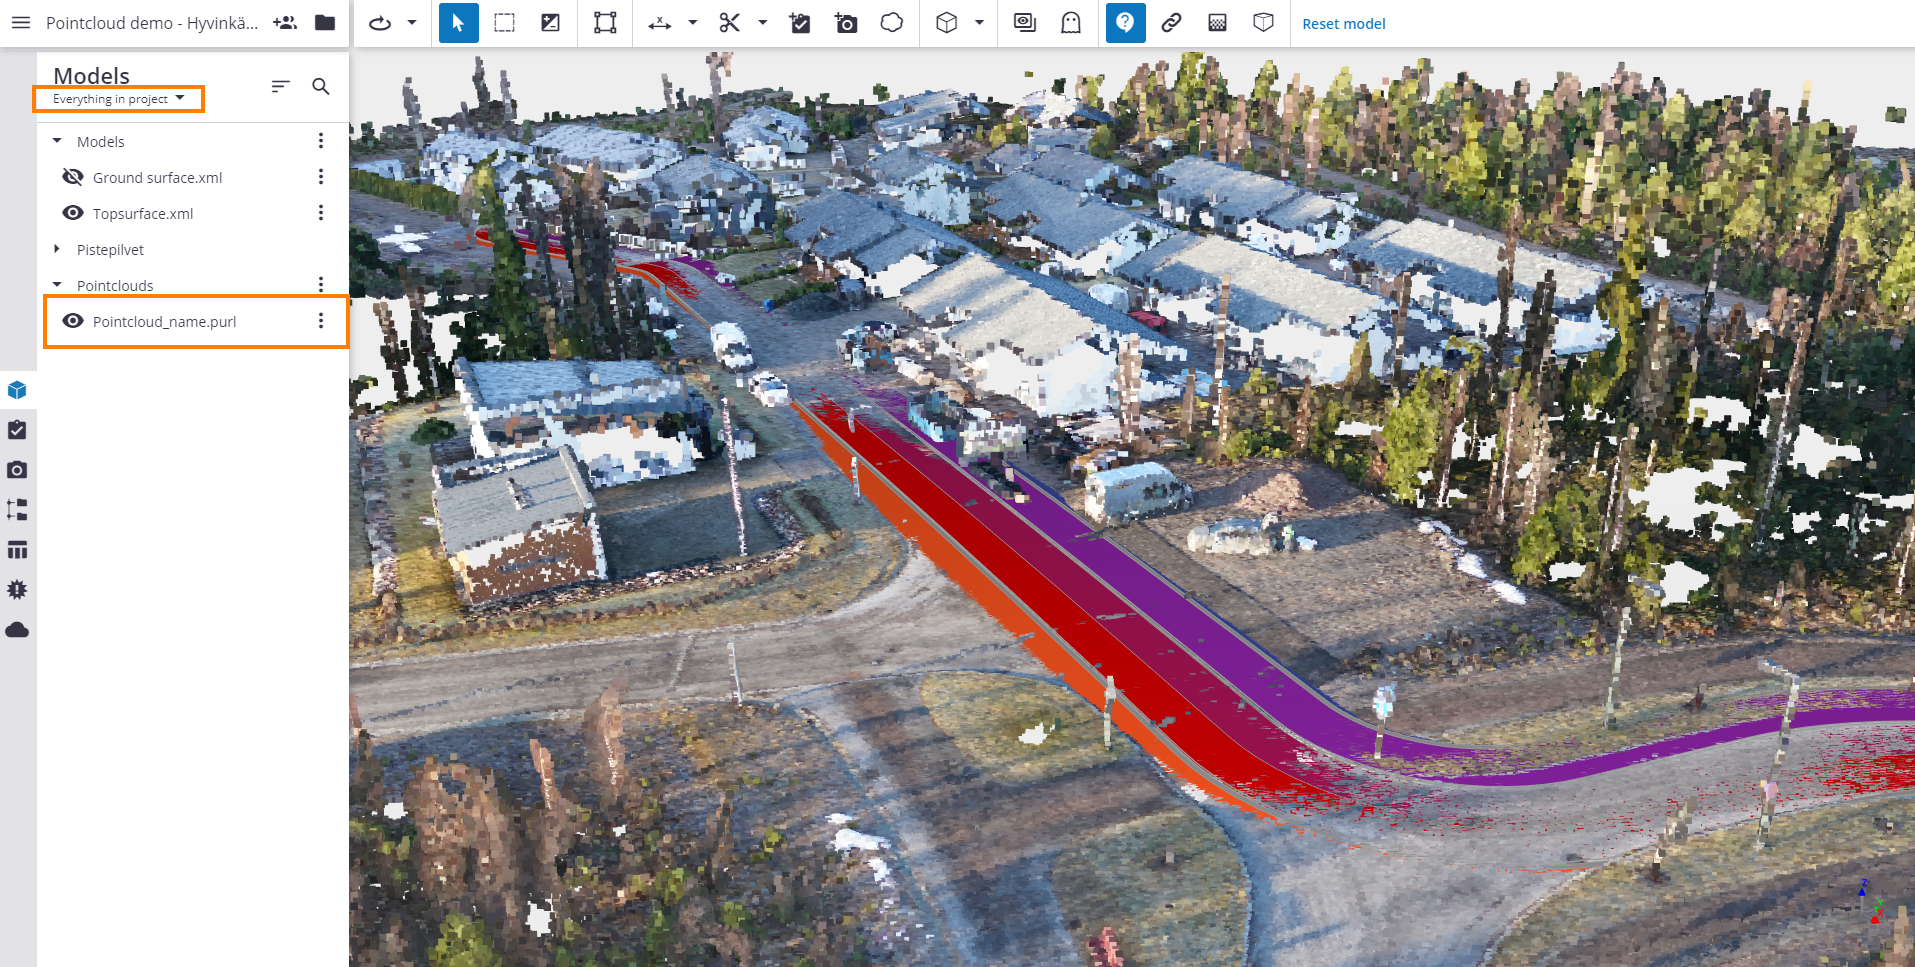
5. Select the models and .purl file and Open 3D viewer
![](/wp-content/uploads/2020/04/connect_3Dview.png)
6. You can also choose all data and find your point cloud data. Turn view on.
![](/wp-content/uploads/2020/04/connect_model_pointcloud.png)
![](https://pointscene.com/wp-content/uploads/2023/11/TC_purl_update.gif)
Desktop edition:
- Once the point cloud is uploaded to the Site, go to Publish & manage data page.
![](https://pointscene.com/wp-content/uploads/2020/03/Publish_and_manage_data1-1024x640.jpeg)
2. Turn on Sharing for the point cloud layer. Copy the link.
![](https://pointscene.com/wp-content/uploads/2023/11/Näyttökuva-2023-11-21-kello-10.29.56-1024x191.png)
3. Open Trimble Connect (Desktop edition)
4. Open project and open point cloud tab
![](/wp-content/uploads/2020/04/trimbleconnect5.png)
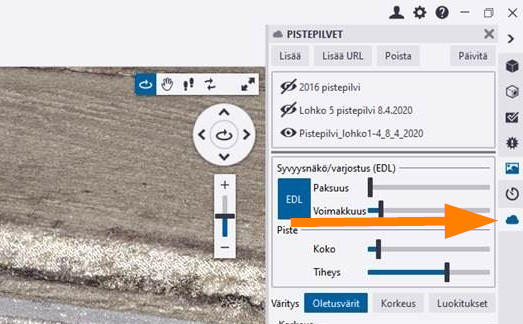
5. And choose add URL
![](/wp-content/uploads/2020/04/trimbleconnect6.png)
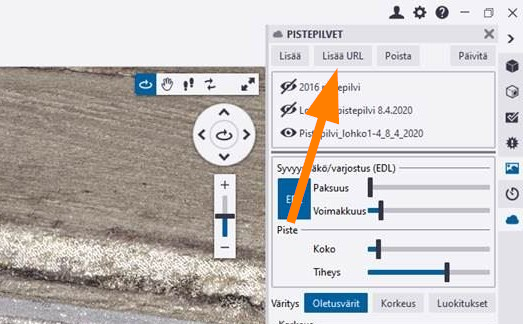
6. Provide the copied URL in the box and give a name for the point cloud.
7. Now you can see your point cloud as one layer in the viewer
![](/wp-content/uploads/2020/04/trimbleconnect3.png)