3D viewer tools and settings
You have now received or created a 3D viewer link. You can use all tools you see and here are some tips for an easy start.
Use your left and right click on your mouse to rotate and move the viewing point. Use the mouse scroll to zoom in and out. You can also “walk around” with the mouse scroll by pointing in the wanted direction and scrolling towards it.
If you have point clouds, you might need more contrast for viewing. Click on Points > Edge for more visibility.

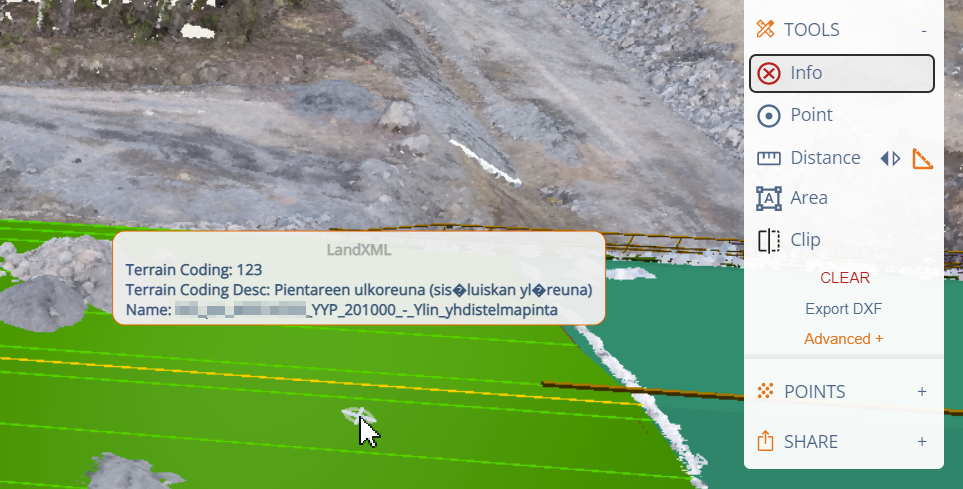
You can explore the features with the Info tool found under Tools.
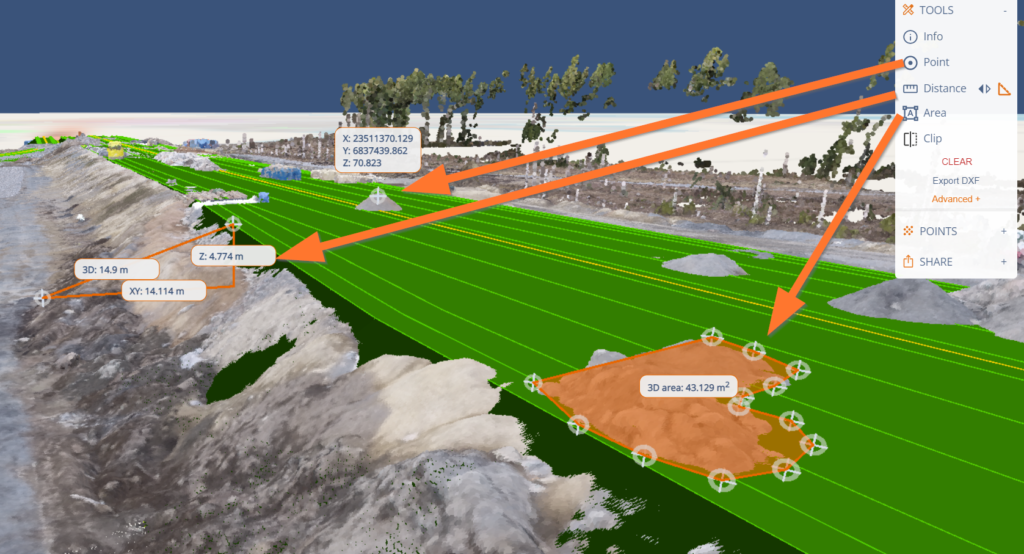
You can use the measuring tools (point coordinates, distance, area) on point clouds and models. Note that the 3D area is the area between the measuring points. It doesn’t count the model or point cloud shape inside the measuring area, only the edge points. If you want to measure the surface area of the model or point cloud, please use our Volume tool.
Note! If your point cloud is in Web Mercator (EPSG:3857) your distance and area measurements may not be accurate enough. For example in the north (e.g. Finland, Norway,..) the measurement error can be up to 1.5-2 times off (e.g. 42m distance might look like 30m in Web Mercator). Remember that all map projections cause distortion of shapes, areas, directions, and/or distances.
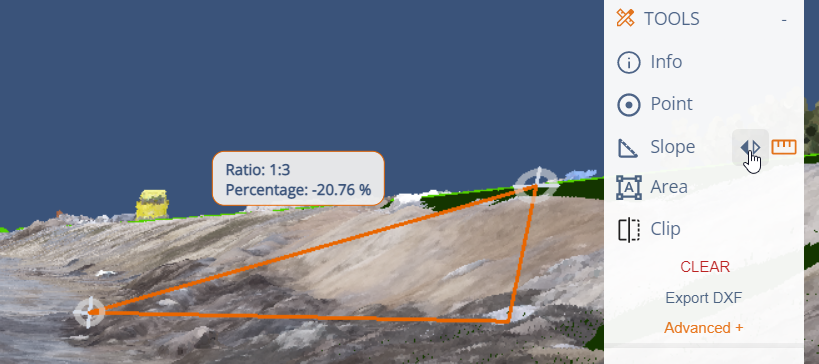
Note! You can see the Slope value by clicking on the arrows next to Distance!
Note! You can export the measurements as DXF!
Clip tool in 3D is done with just one click!
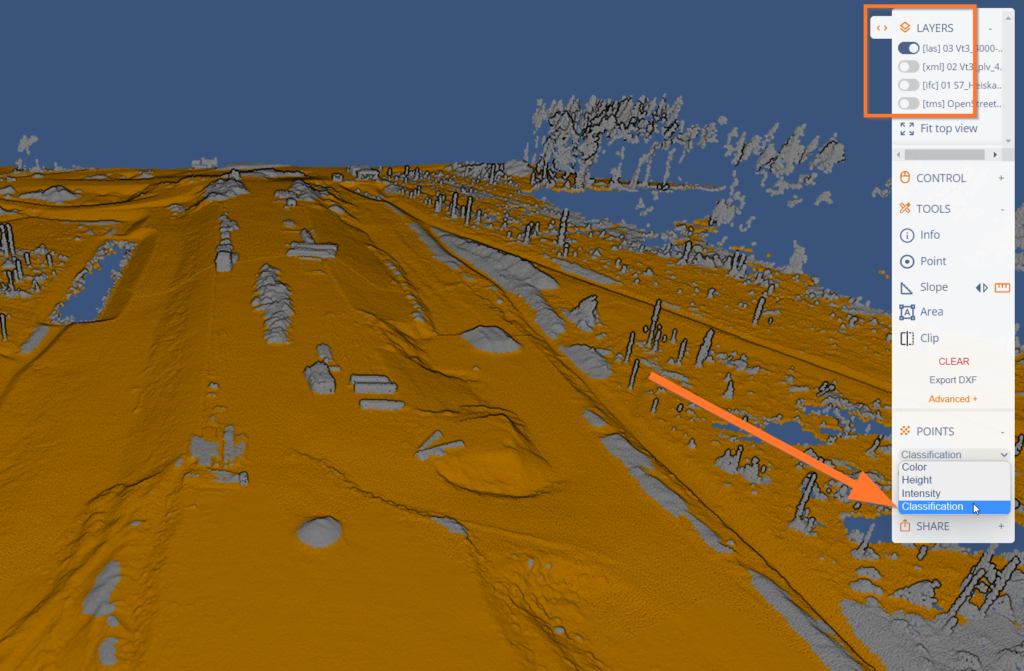
You check what layers you have and turn them on and off from Layers. You can also color the point clouds according to RGB colors, height, Intensity or Classification under Points (all values need to be in the original point cloud when uploading).