
How to add WMTS to Autodesk Civil 3D® (2018-2024)
Here is how you can add any orthophoto as a WMTS to Autodesk Civil 3D®.
If you have the orthophoto as a file (.tif, .jpg, .png) first you need to convert it to a WMTS service. You can do this easily with Pointscene Web (project license). Go to “Upload raster” instructions to get started and come back here, once it is done.
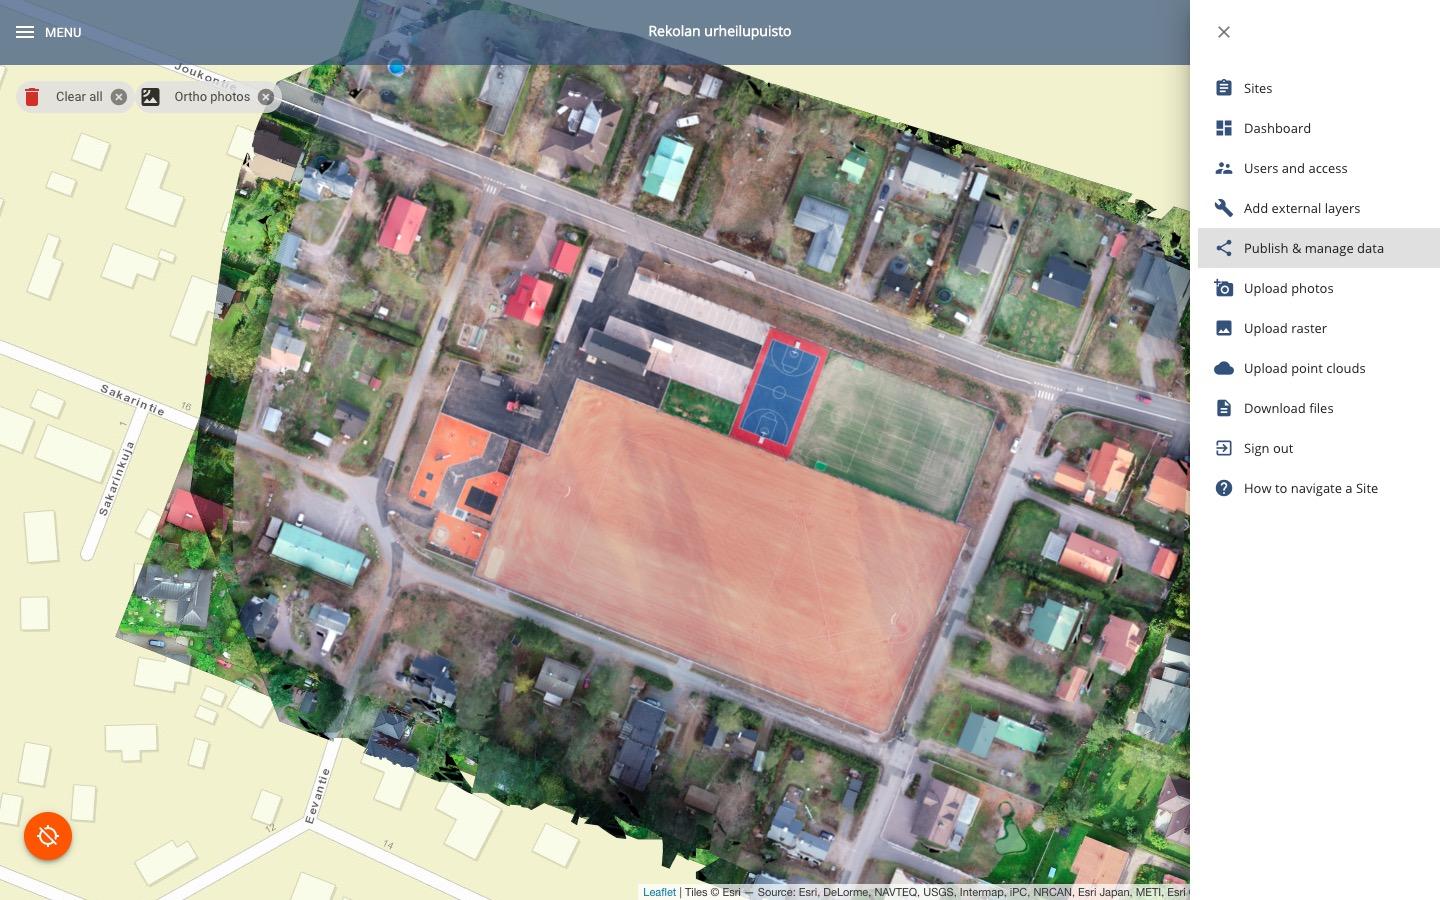
- Open your Site
- Go to Publish & manage data
- Copy a share link or create a new group share link by selected wanted layers
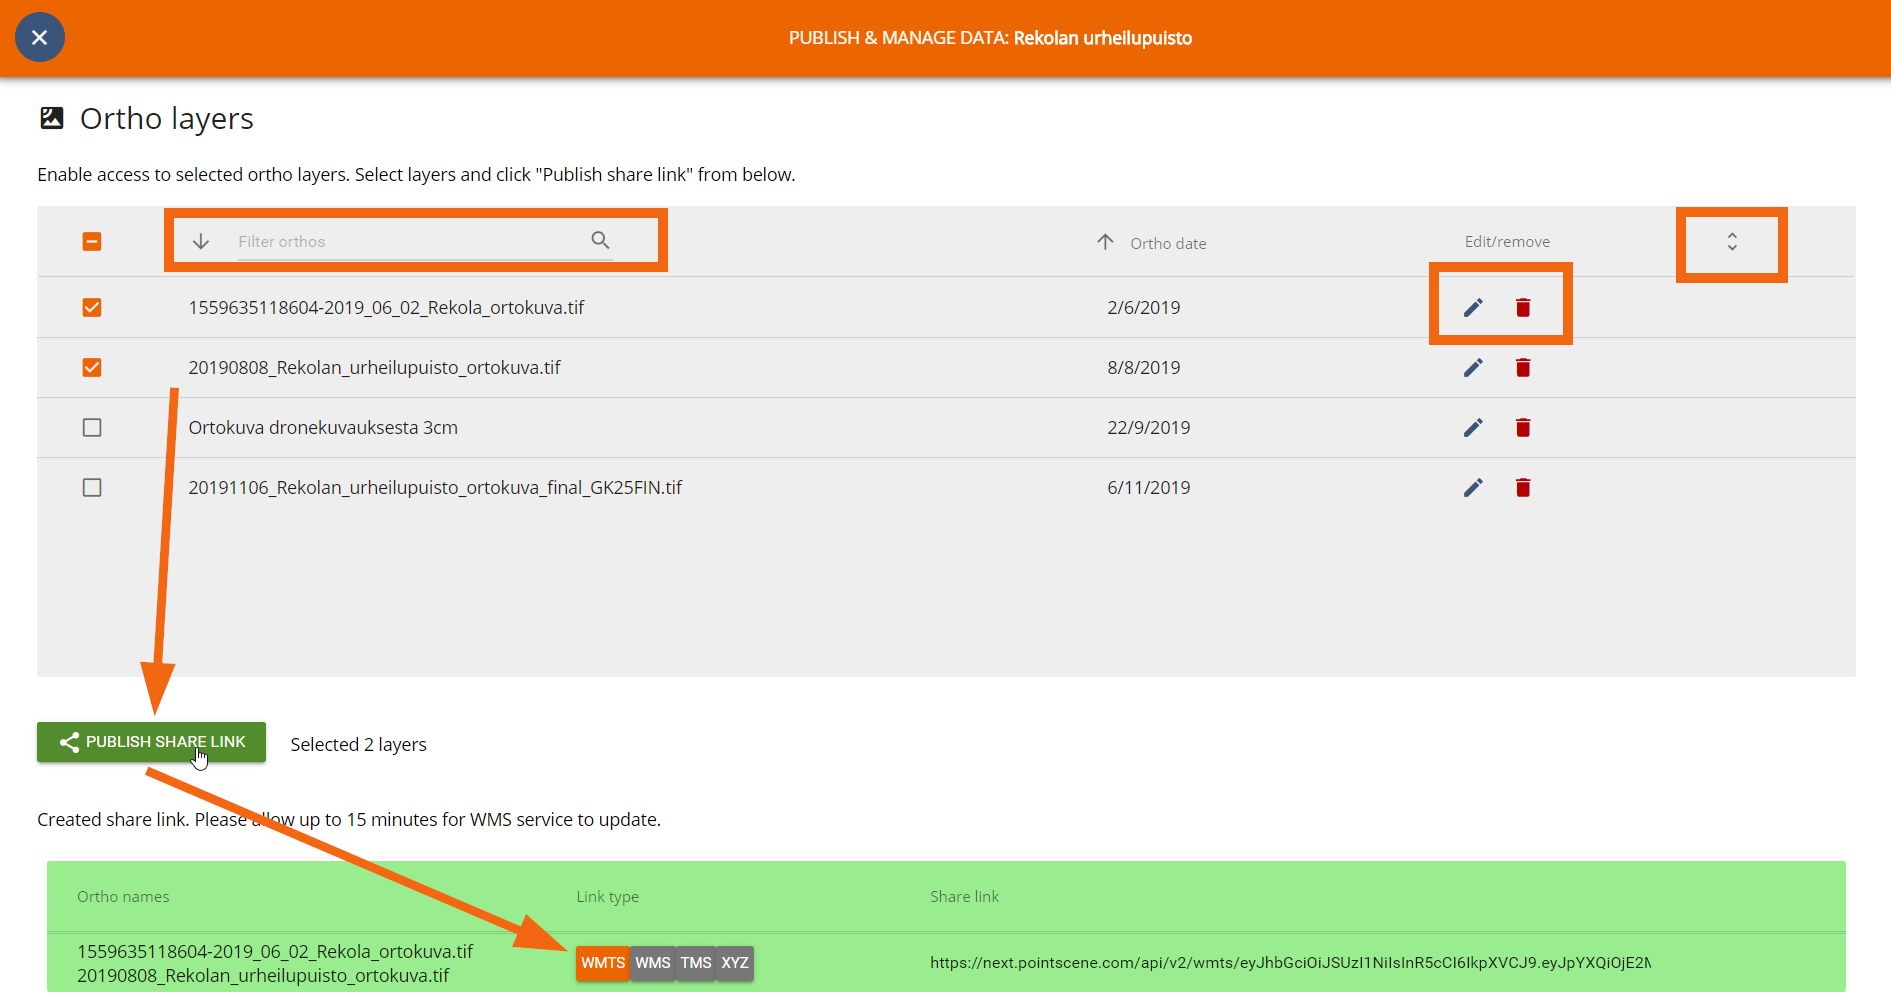
- Select WMTS link.
- Open Autodesk Civil 3D®
- Open Data Connections by typing MAPCONNECT in the tasks bar or through the task pan, press on the data icon then Connect to Data
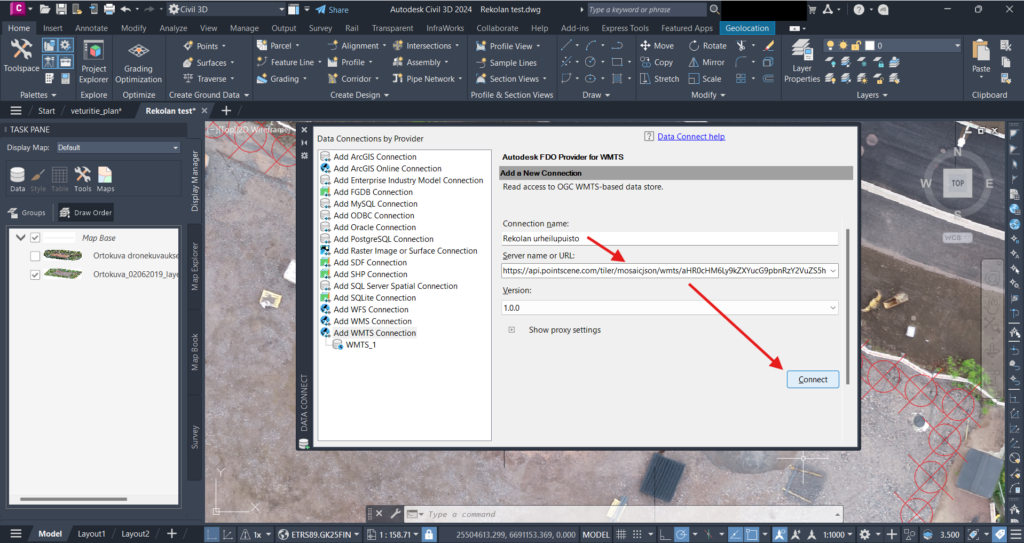
- Selected Add WMTS Connection
- Name your connection and paste the WMTS link and click Connect
- If it asks for credentials, just click Log in without any user name or password
- Select the layers you need, check your map coordinate system and click on Add to Map.
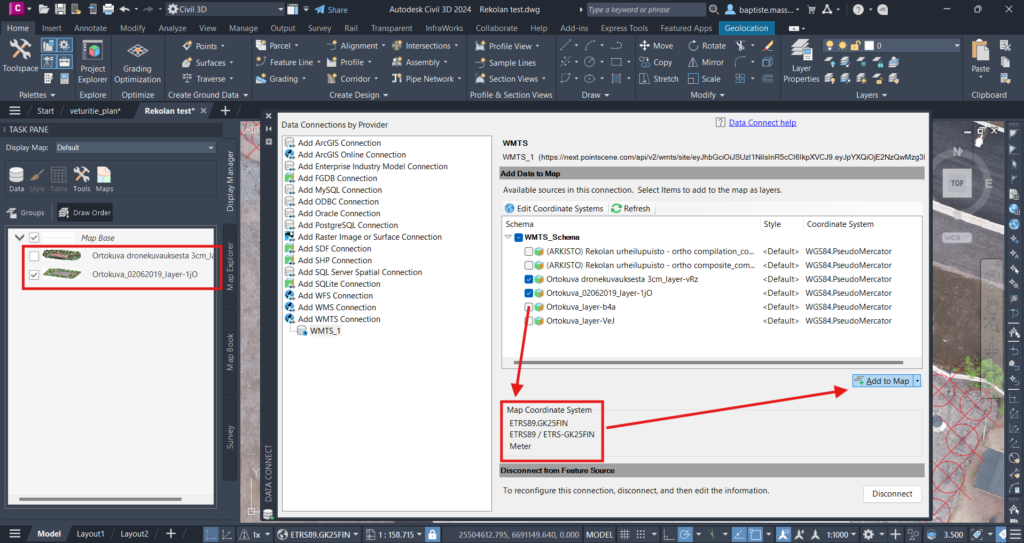
- Your layers will be uploaded within a few seconds. Once they are uploaded, they will appear in the list on the left side of your screen