Cutting an orthophoto into pieces with QGIS
In this tutorial, we are using QGIS version 3.24.3-Tisler. We will first create polygons into a new layer and then use those areas to clip the raster.
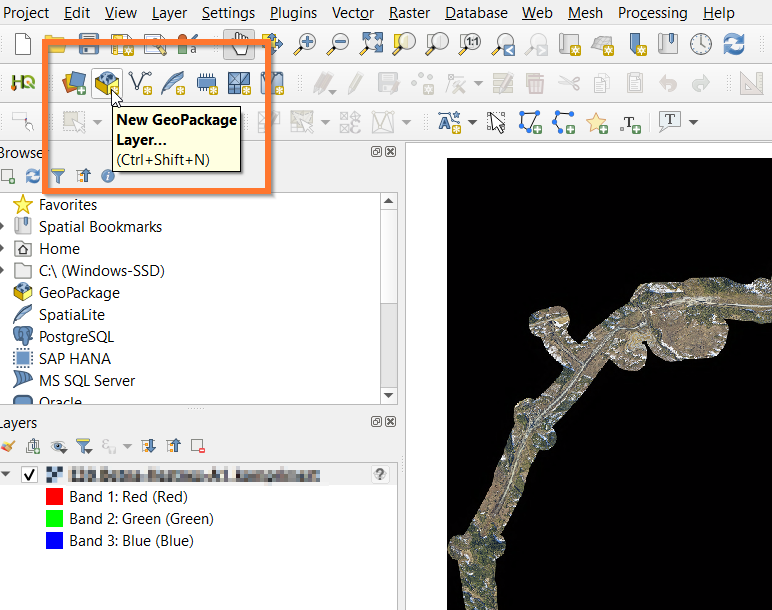
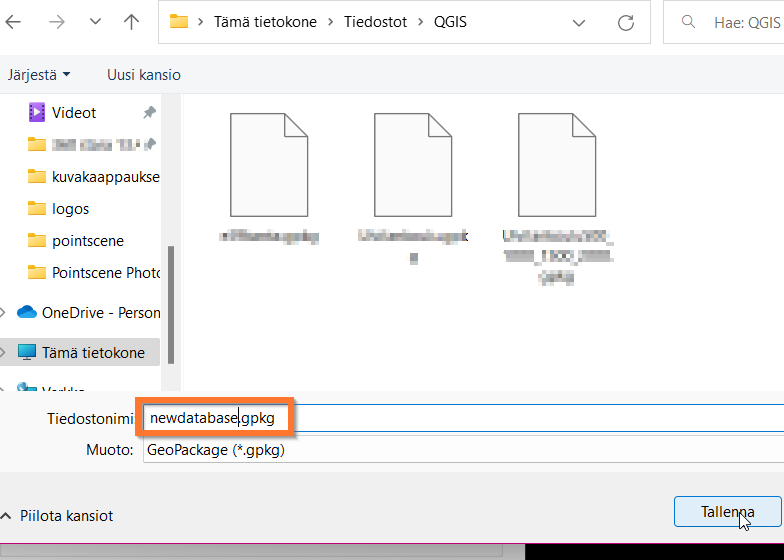
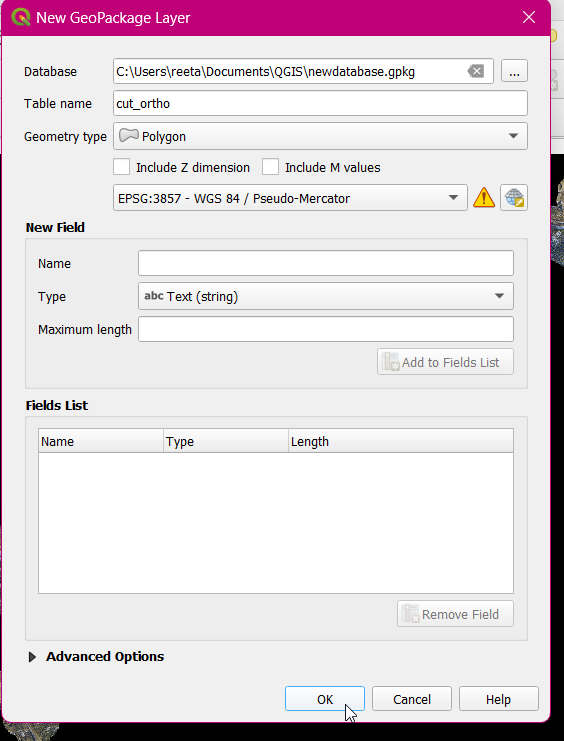
- Create a New GeoPackage Layer. Use the same parameters as in this example.
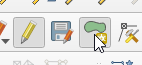
2. To edit polygon features onto the map, click on the pen and green area. Draw the first area onto the map.
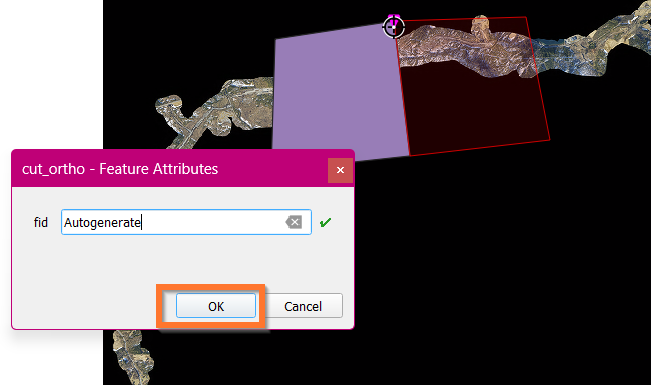
Once you have clicked on all wanted edges points, right-click your mouse. You can click Enter when “Autogenerate” window pops up.
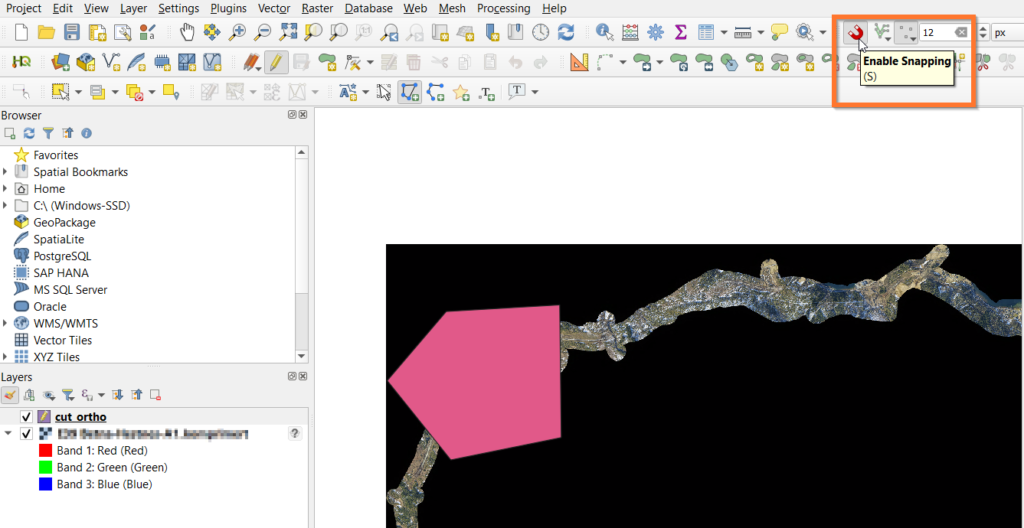
3. Turn on Snap, so that the areas touch each other. This way the end result will not have holes in them.
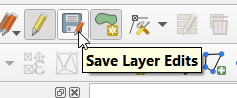
5. Once you are done, save edits and toggle editing off (pen)
Next we will cut the raster into smaller pieces
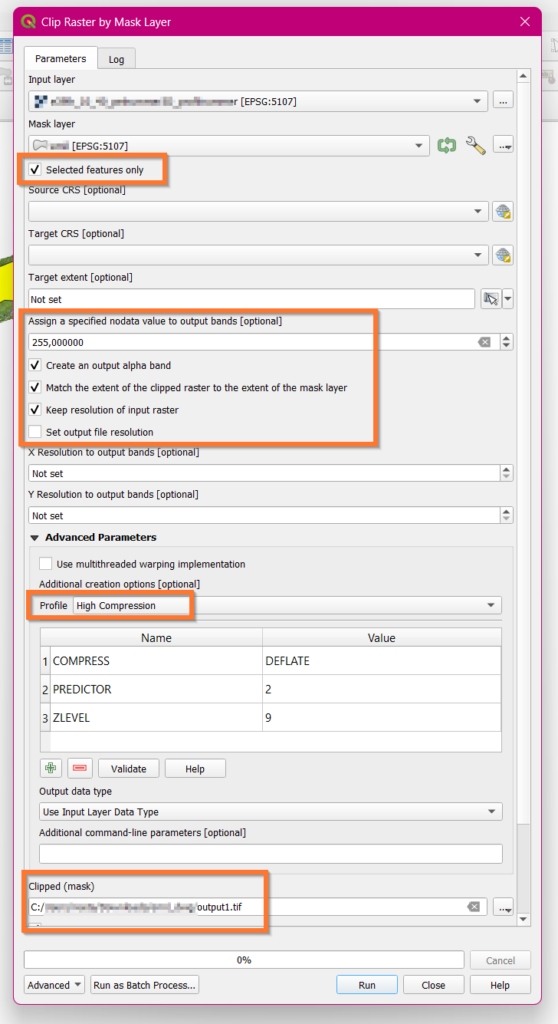
6. In the next step we will use the “Clip raster by Mask Layer” tool.
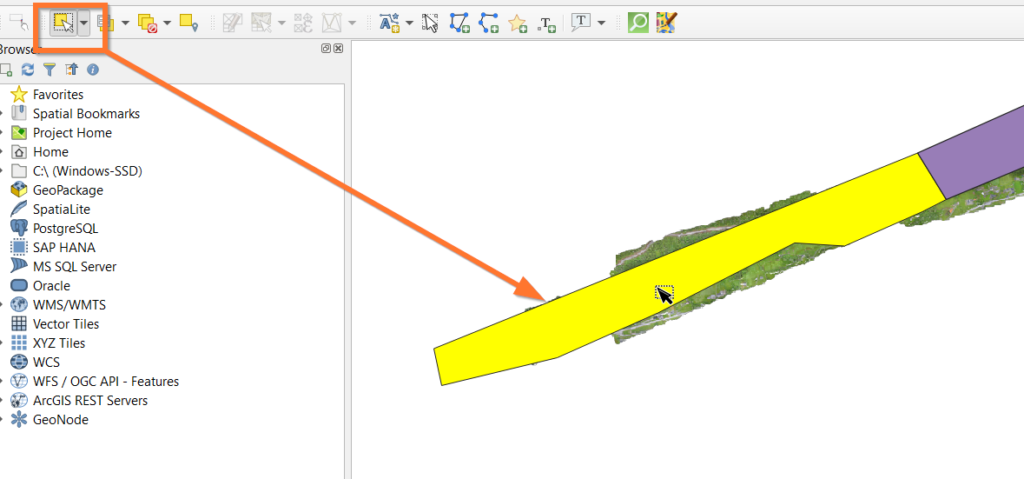
- Select one area (see screenshot above)
- Open tool: Raster > Extraction > Clip Raster by Mask Layer
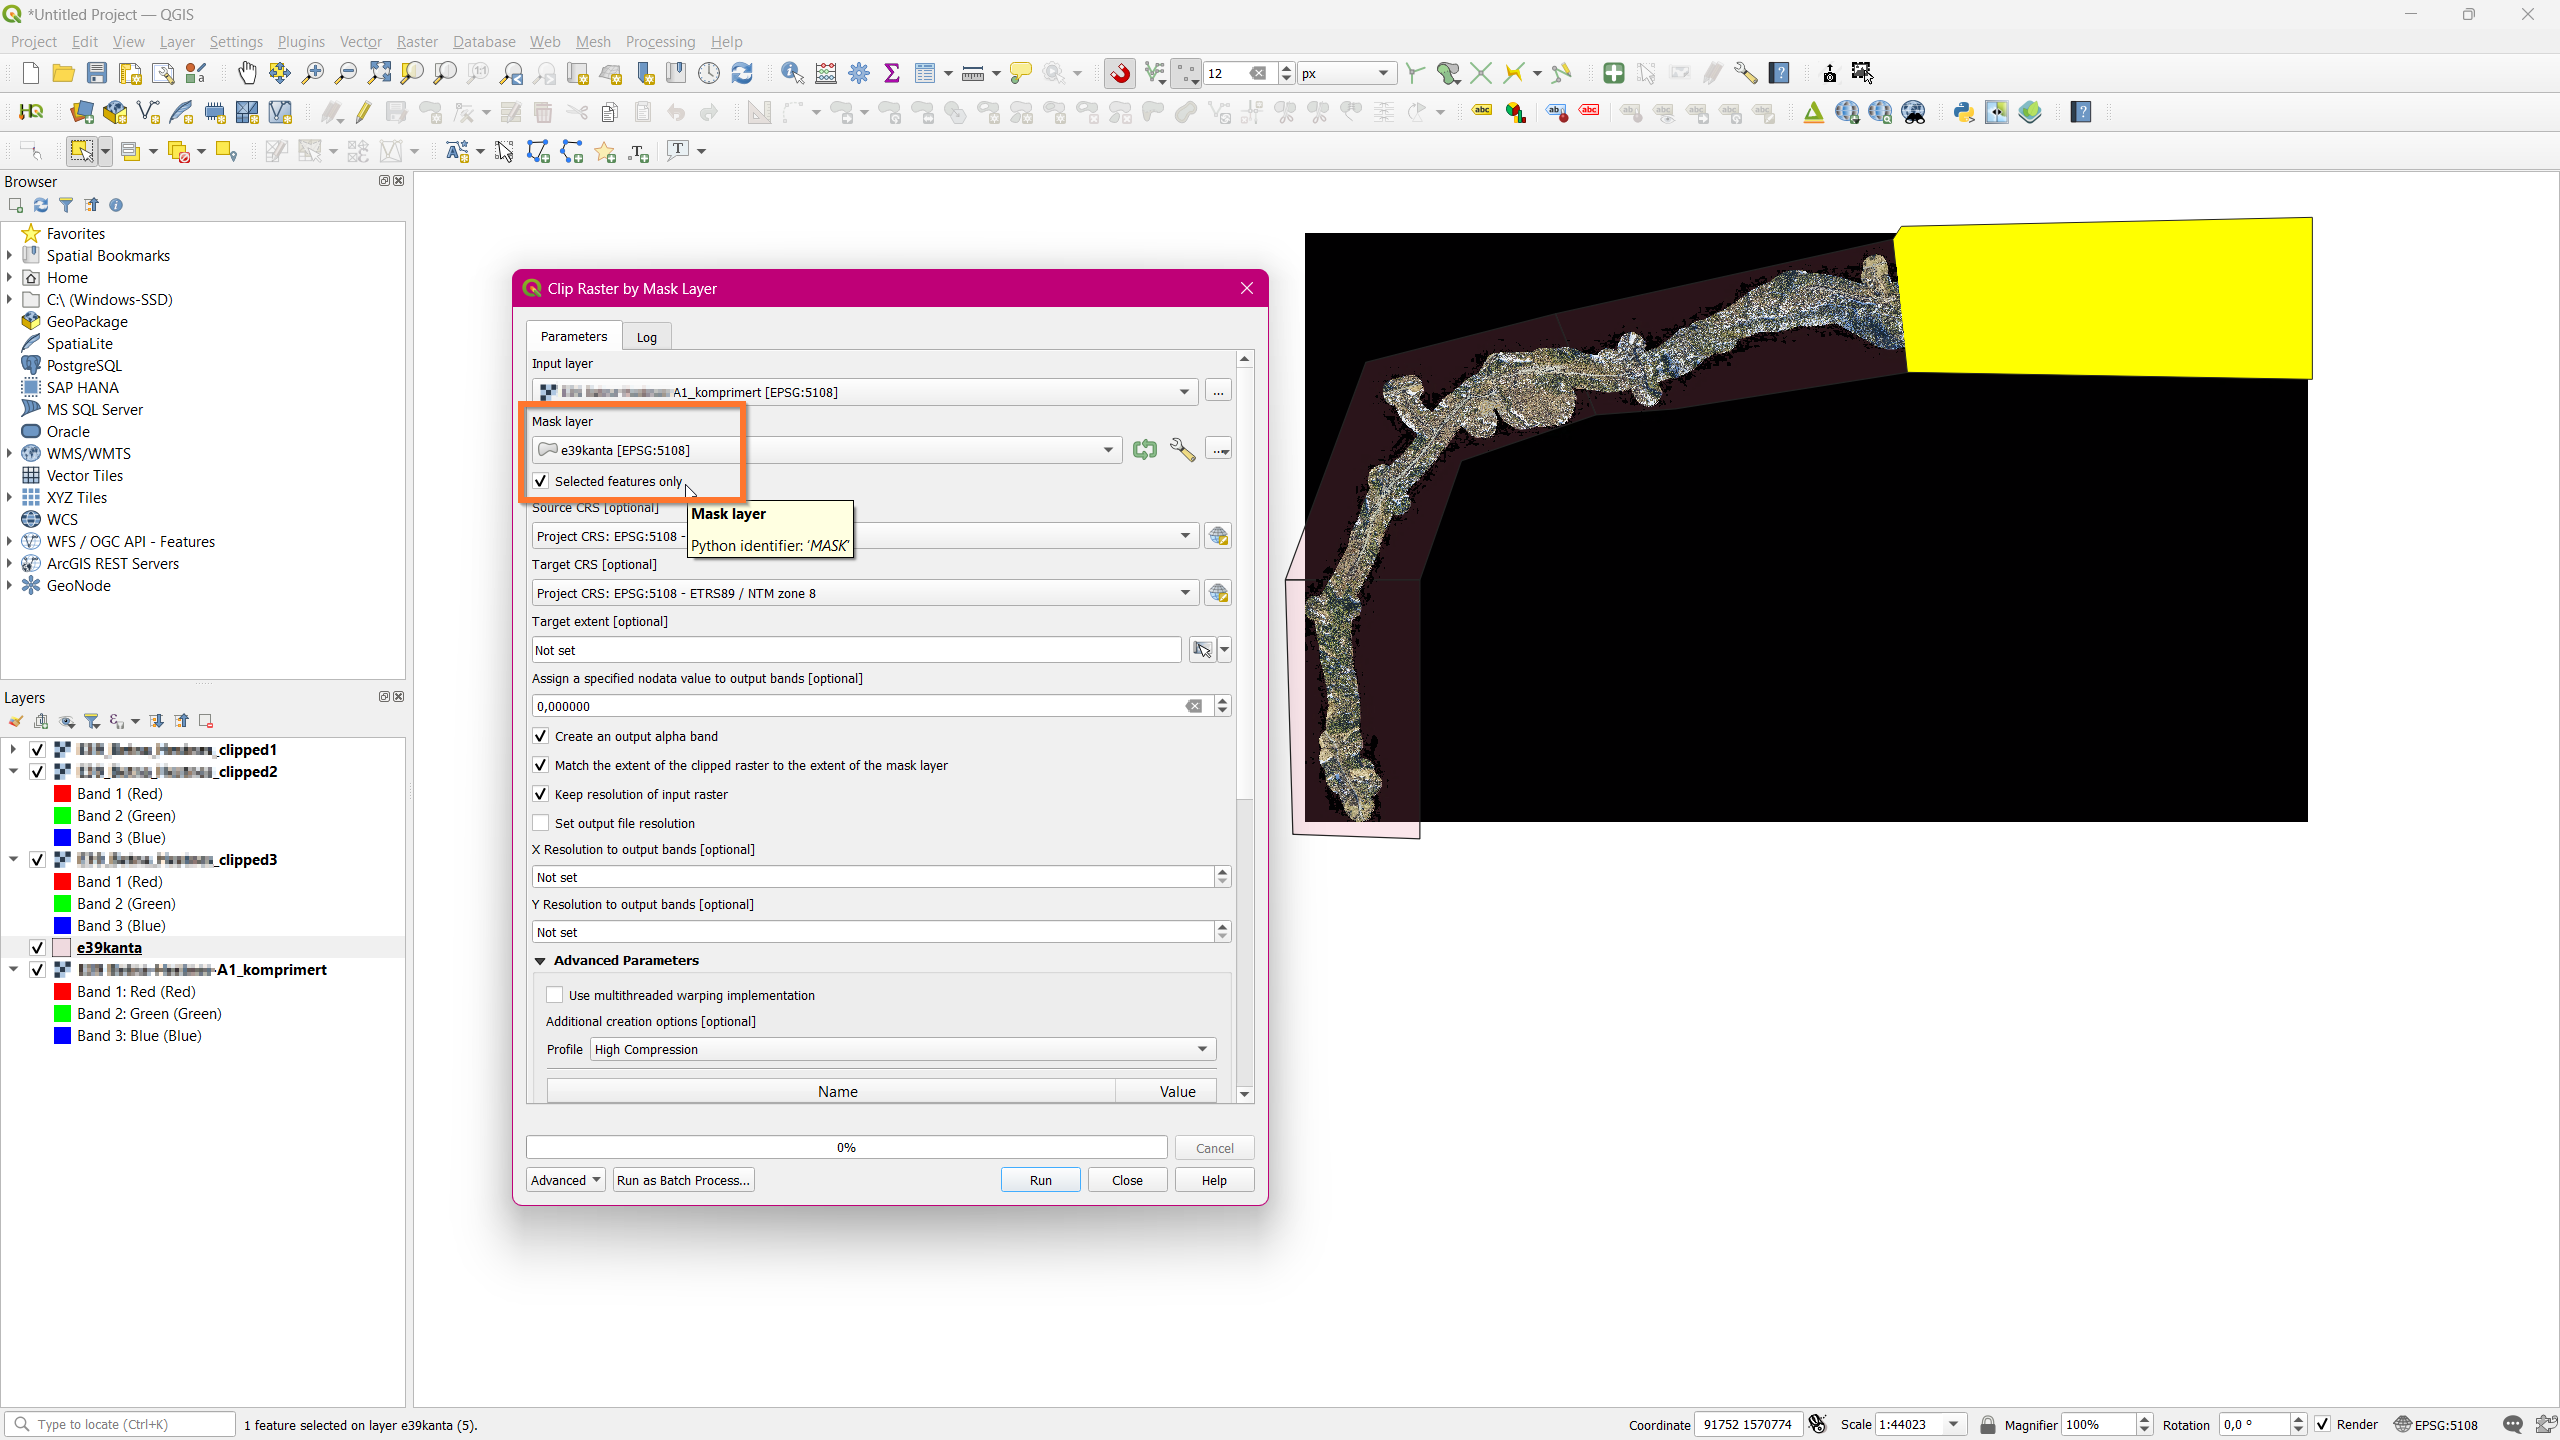
- Insert raster,mask polygon layer and the following values.
- Mask Layer: select “Selected features only”.
- Assign a specified nodata value to output bands: For black: 0. For white 255
- Select “Create an output alpha band”,
- Select “Match the extent of the clipped raster to the extent of the mask layer
- Select “Keep resolution of input raster
- Advanced Parameters: Profile: High compression
- Clipped (mask) (output file): save as filename_clipped_part1.tif
- Run (do NOT close the window when done!)
- Rerun again with all areas:
- Select the next polygon area on the map
- Select “Change parameters”, and change the output name to “….part2”.
- Run again as many times as needed.