Orthophoto Upload
Pointscene Web supports the formats: TIF (+TFW), JP2/JPG + JGW, and PNG + PGW.
Make sure you know your data before uploading it. Most of the time the upload page will give a preview of the data location with the correct EPSG code. Data must be in a projected coordinate system (e.g. WGS84 is not fine).
One of the most common EPSG codes is 3857, Web Mercator which is a worldwide projected coordinate system.
You can upload as many rasters at once as needed.
Typical processing time to see the orthophoto on the map is around 20-60 minutes. The processing can take any time between 1 minute to 24 hours, depending on the geographical extend of the dataset. The larger the area it covers, to the longer it will process.
How to Upload from Site-view
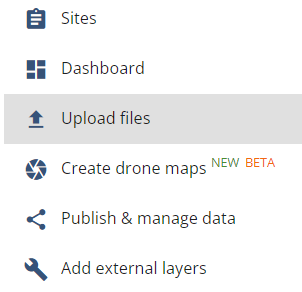
1. Open Site and choose Upload files from the site options
2. Click on Ortho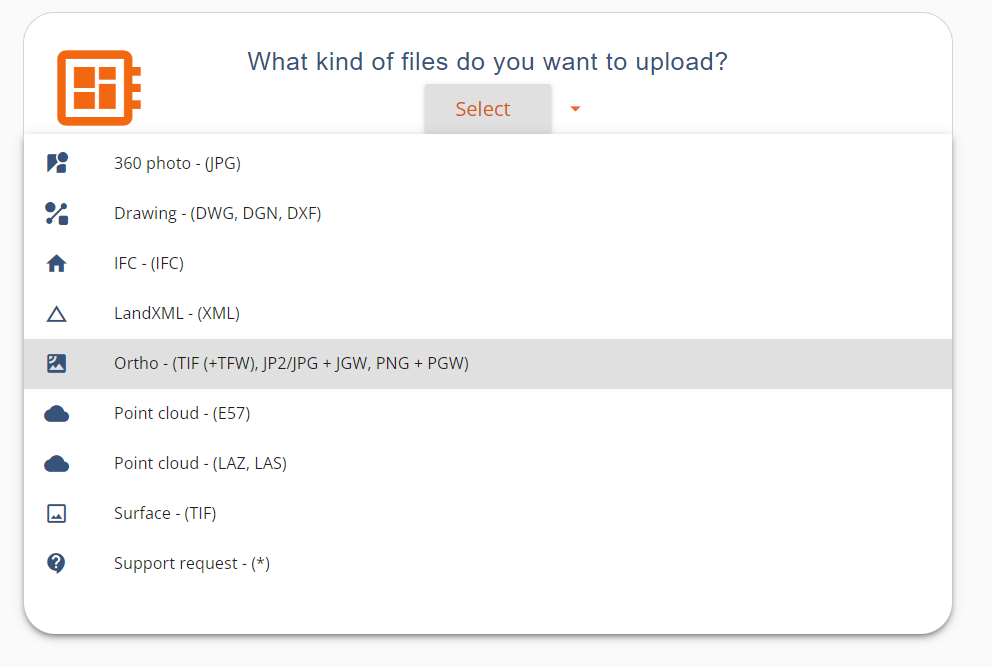
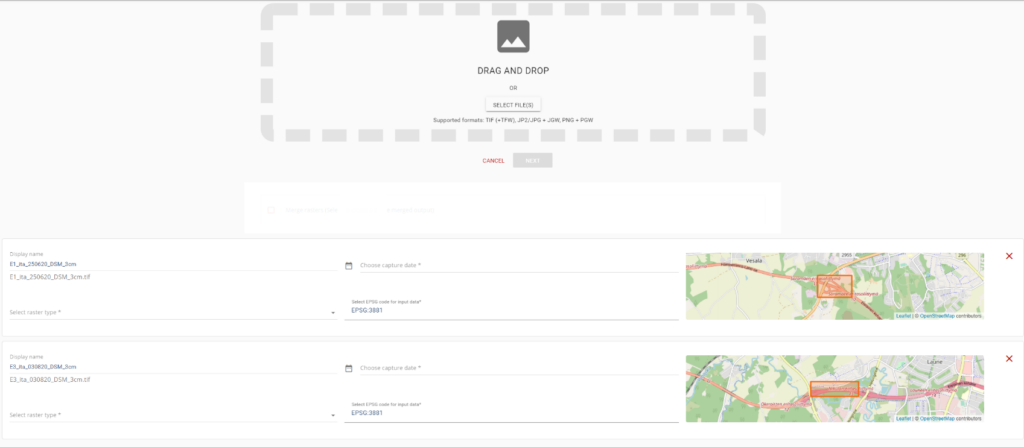
3. Drag and drop files. You can add as many files as once as needed.

4. Enter capture date and you can define ortho’s name if needed
Your data bounds should be visible on the map, if not go to Common problems with raster upload. Preview map is available for GeoTIFF and for other formats when the world file is provided (.jgw & .pwg)
5. Click Upload. You will see all raster bounding boxes in the same map and the progress of the upload and processing.
Keep the browser tab open until the upload is complete.
The processing will take on average 20-60 minutes! You will get an email once it’s available.
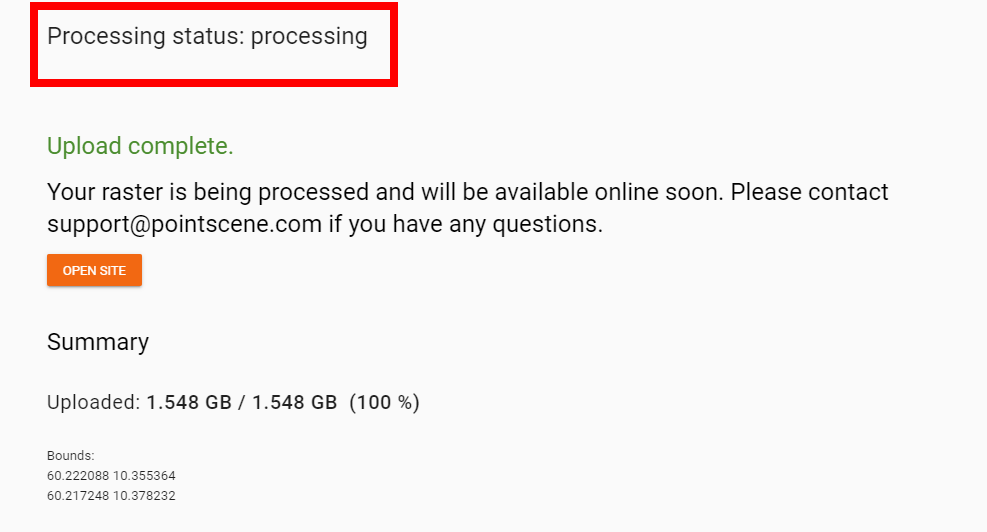
Optional: Keep tab open after the upload is complete to check the processing status. This will take several minutes, depending on your file size.
Note! You can now close the tab if needed! You will get an email once the processing is done. The processing is done in the backend, so closing the browser will not stop the process.
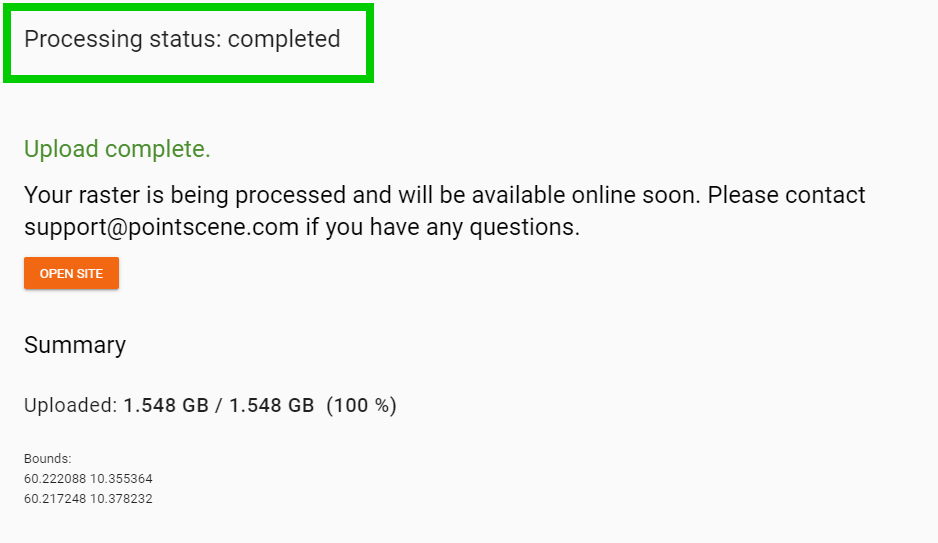
6. Once the processing status is completed, you will be able to see the orthophoto in the map and download data -tab.
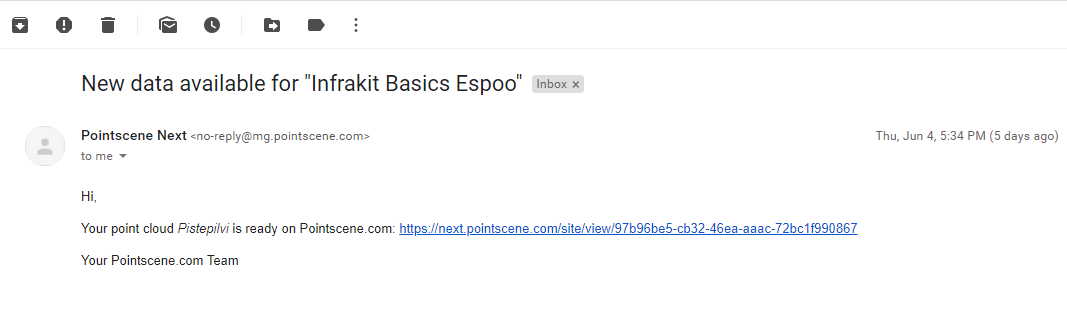
You will get an email once the processing is finished or an error has occurred. Support will contact you if failure happens.