How to create a Maps layer from ArcGIS Pro
If you have ArcGIS Pro, you can create a GeoTIFF from DWG or Shapefiles, or what other datasets you can open with ArcGIS Pro.
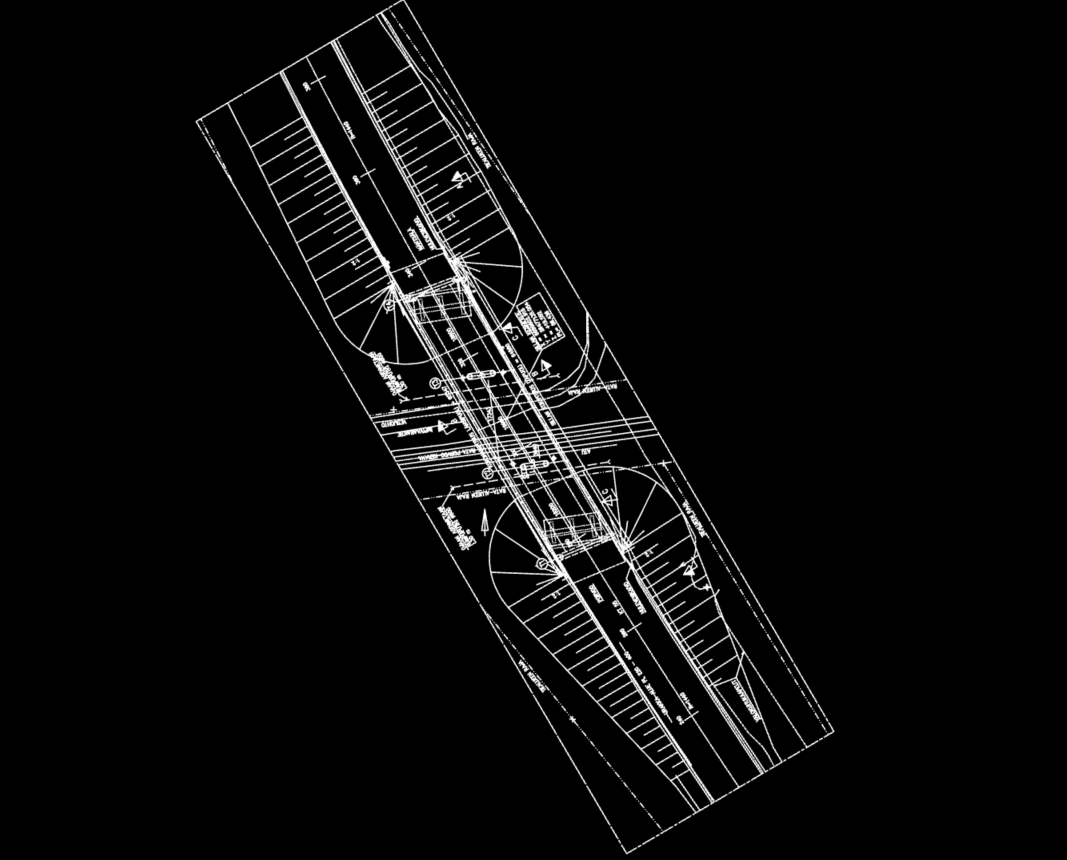
First, open your data in ArcGIS Pro and make sure the visualization and location are correct using a base map etc.
Tip! Make sure the colouring choices work with ortho photos, white might work best with dark roads and natural colours.
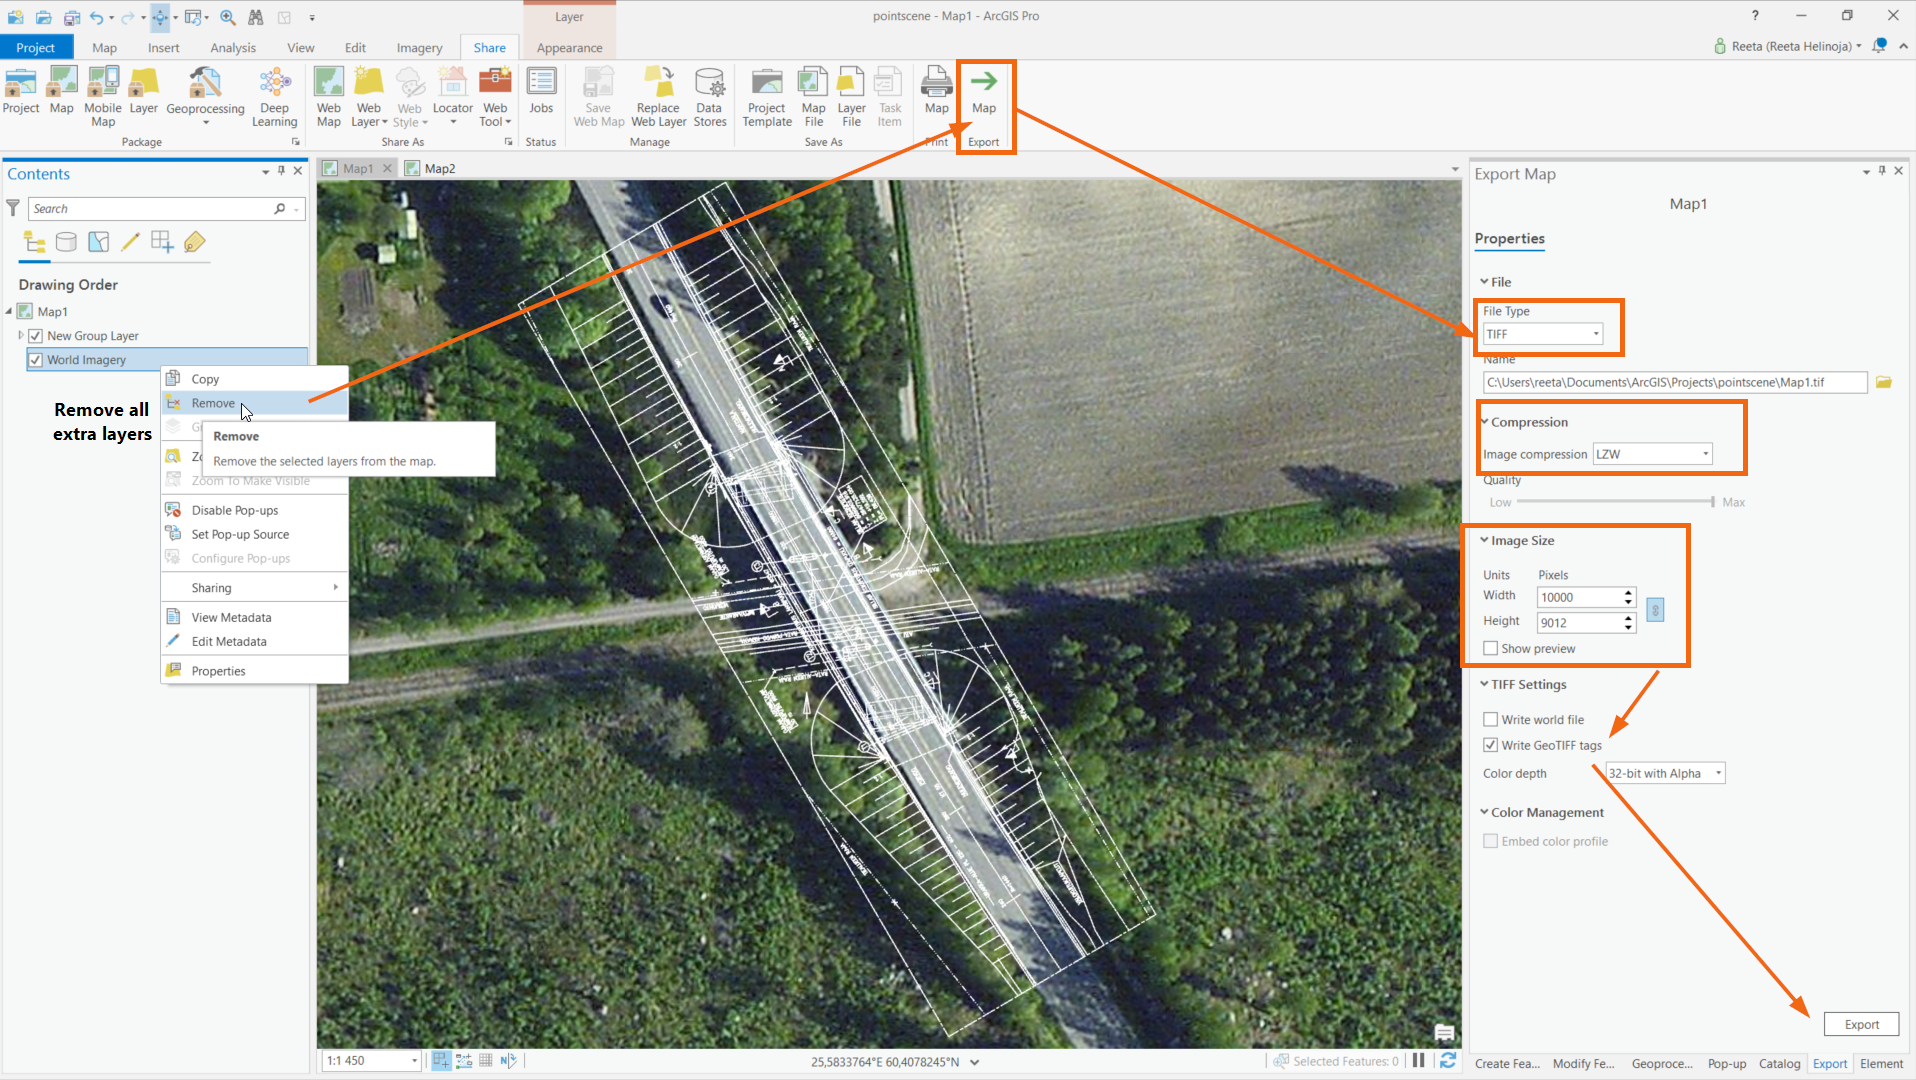
Then, remove all extra layers, including the base map. All visible layers will be added to the export.
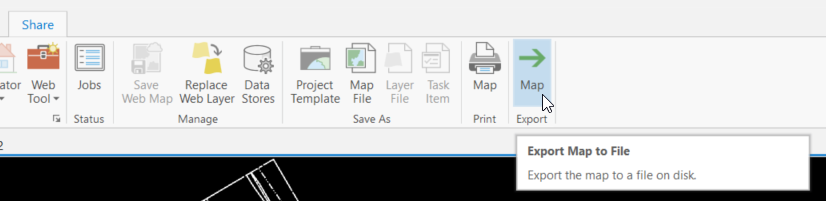
From the top ribbon click Share and then Map (Export)
Change the File Type to TIFF, use LZW compression.
Increase the Image size, here the default was about 1500. 5000 was not yet enough and 10 000 gave high resolution even for zoom level 21. The pixel amount will be dependent of the size of the dataset.
Choose to Write GeoTIFF tags
Make sure that the Color depth is set for 32-bit with Alpha
Click Export.
You can check the resolution and results by adding the GeoTIFF to the map.
Tip! Change the background colour from the Map’s options (double click the map’s name in Content Pane).