Adding WMS Data Layers to Map View
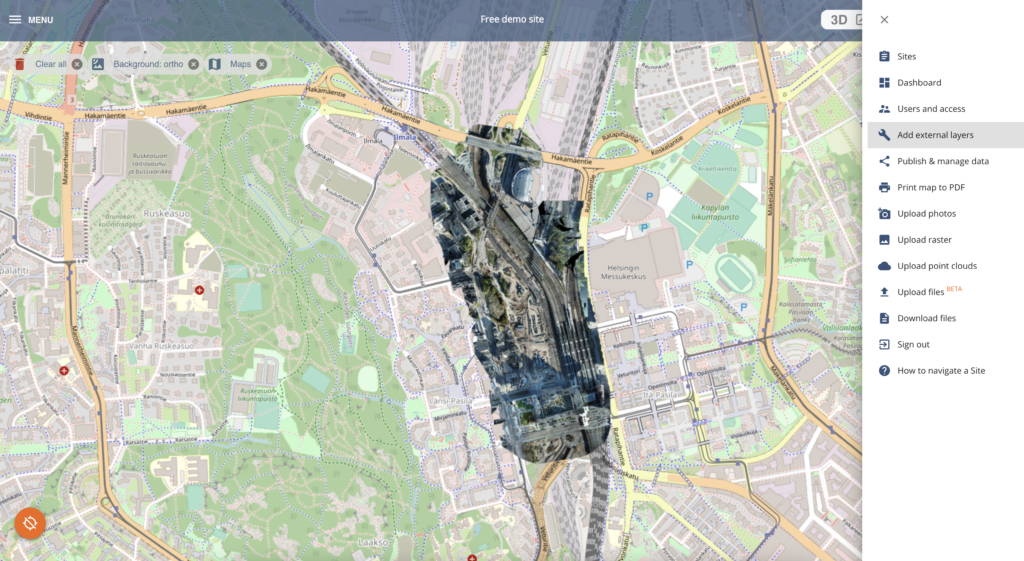
- In the map view, click on the right side bar Options and choose Add external layers

- In Layers you can add WMS layers
- The requirements for the WMS are:
- Must be HTTPS !
- if the URL is originally HTTP, it will not work!
- You must have or add “?service=WMS&version=1.1.1&request=GetCapabilities” to the end of the URL link:
- Example Finnish cadastral boundaries WMS:
- https://inspire-wms.maanmittauslaitos.fi/inspire-wms/CP/ows?service=WMS&version=1.1.1&request=GetCapabilities
- Must be HTTPS !

Once you have successfully added a WMS URL, the layer selection tab will open:

Select needed layers to one group layer
**********************************
NOTE: all layers selected at the same time will be in the same group layer in the Site map!
IF you need to turn the layers on and off separately, add the layers one by one, by entering URL again and selecting the layers.
The layer order default is where the first added layer will the topmost layer and second layer under the first and so on. Users can change the order for each session separately.
**********************************
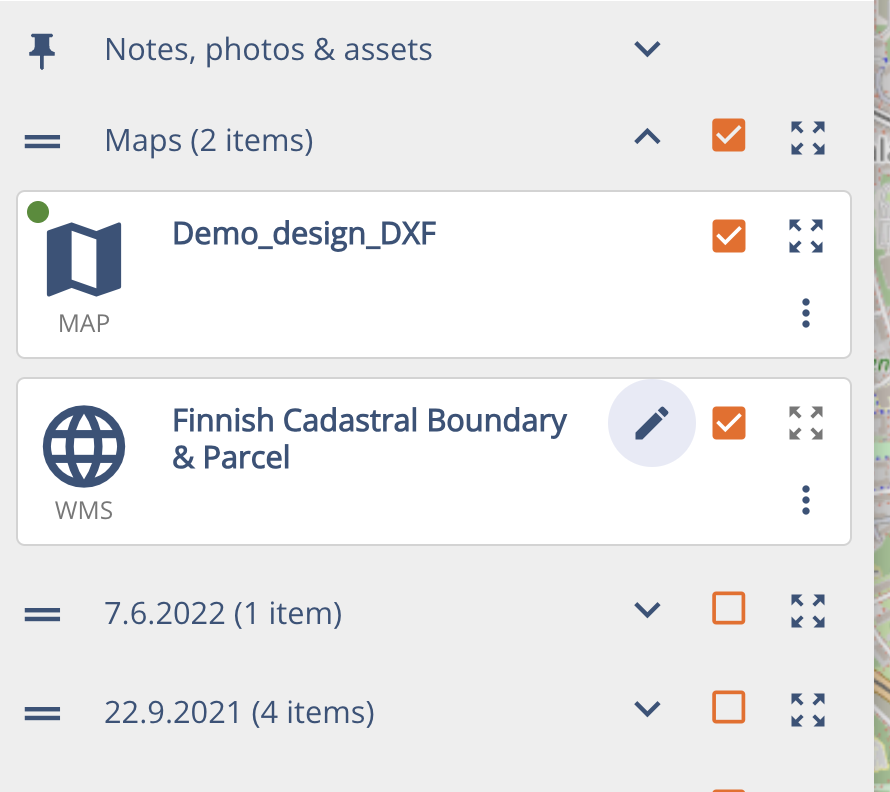
Refresh the page to see the layer in the group Maps. You can rename the layer if needed.

Note! Not all data providers offer their WMS in the right format. Please contact support@pointscene.com if you have problems with WMS.
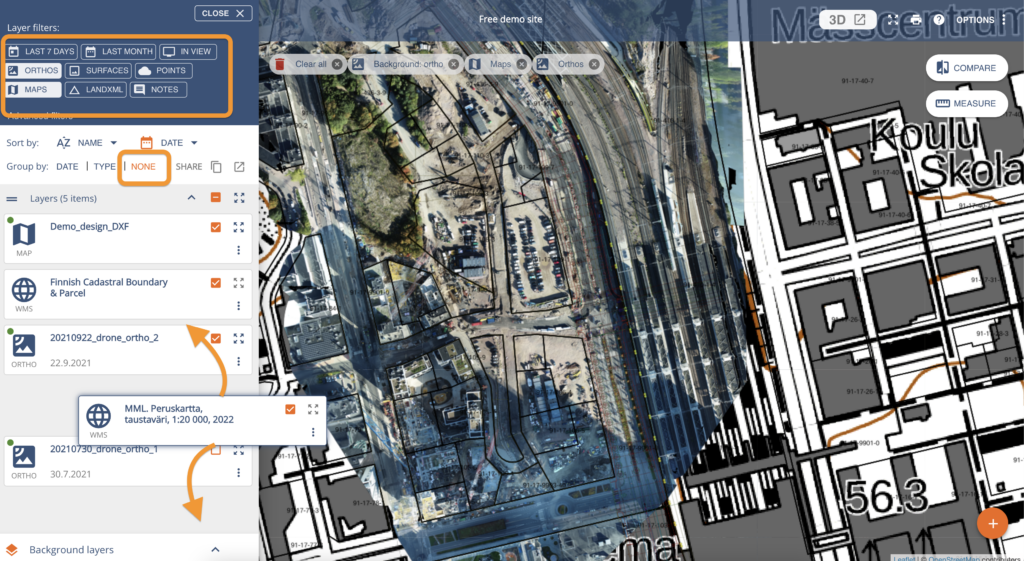
If you need to have a map layer as the topmost layer and WMS as the bottom layer with another dataset in between, you can order the layers by grouping the by “None” and drag & drop the layers into order. Remember to use the layer filter above to remove extra layers from the list (e.g. point clouds).
