How to create a point cloud from scratch (using free software)
Sometimes you need to create 3D objects from scratch and point clouds are a great open format (e.g. las & laz) to use. Using a point cloud format, you can visualize e.g. surface changes like land removal or snowfall and snow piles in real coordinates. This is a great option e.g. for construction sites when the 3D object is better visualized as a point cloud and/or modeling to a LandXML or IFC is not efficient or the worker doesn’t have the licenses to do so. Or you have a point cloud and you want to create a new point cloud in the same area.
By following these instructions you will be able to create a point cloud from areas, lines, or points. You will be using QGIS and CloudCompare. Alternatively, you can use Pointscene to create the initial areas, lines, or points. Please install the latest versions on your computer.
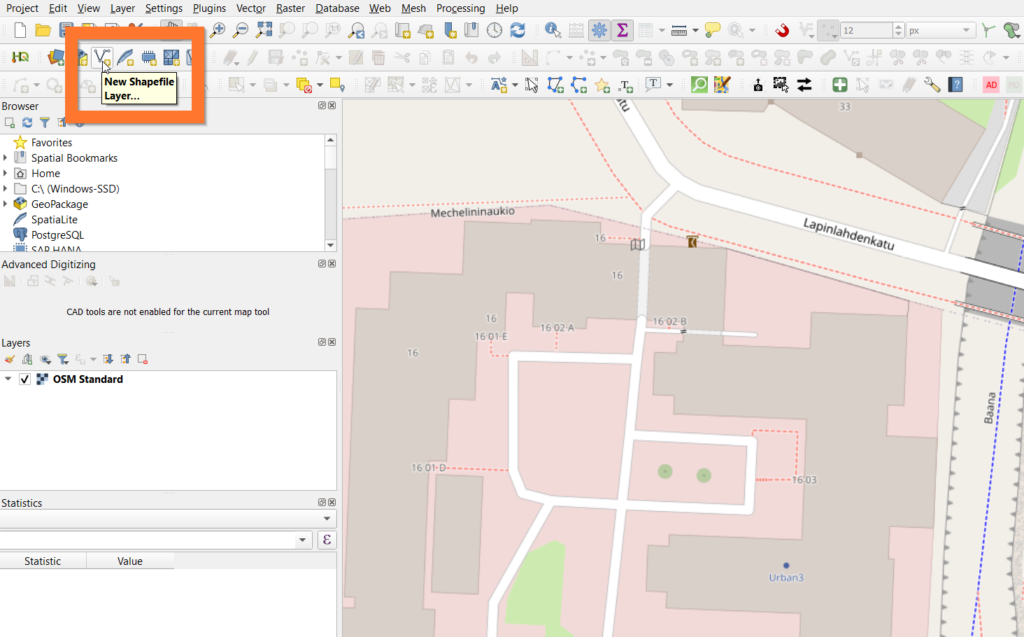
Start with opening QGIS
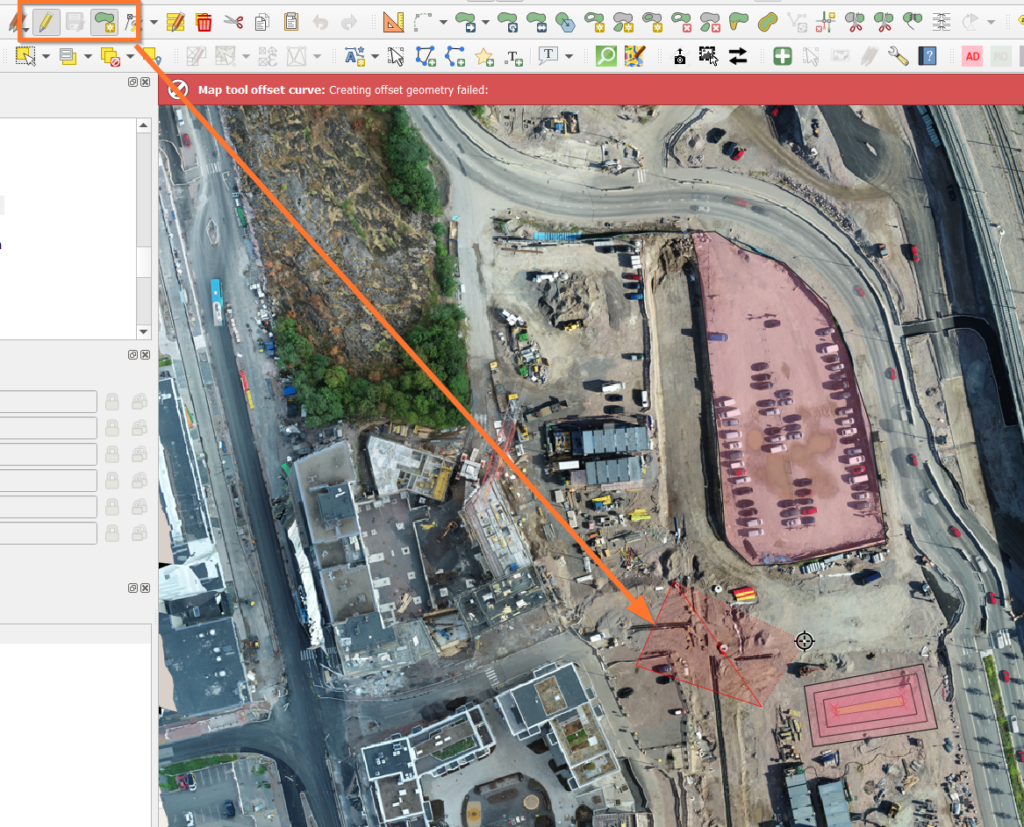
- Add all data and base maps you need to create the wanted areas
- Create a New Shapefile Layer
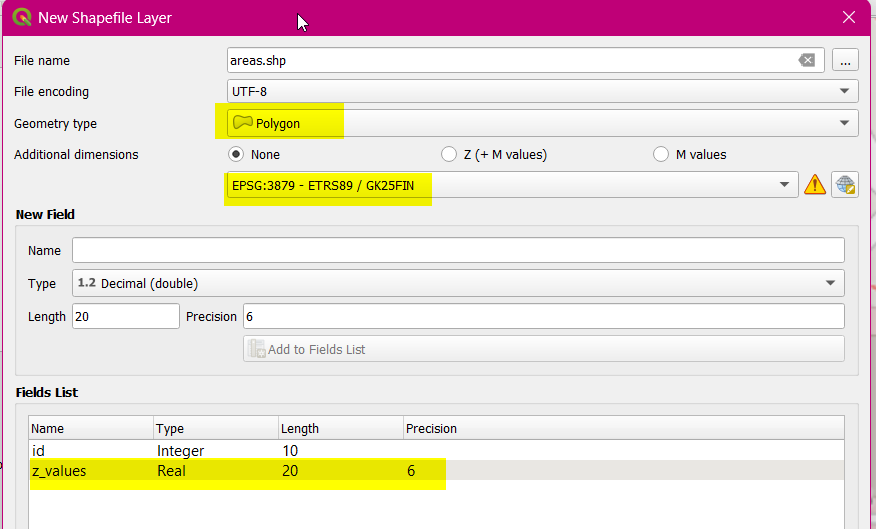
- Make sure you have the coordinate system you are using on your project
- Add a decimal field for the z-values.
- Draw the wanted areas and give a z value to each area, if they have different values.
- Add a z-value field and use the “add z-value” tool
- You can give one value to all areas or use the z_values field
- Save as a new file (e.g. areas_z.shp)

Open CloudCompare
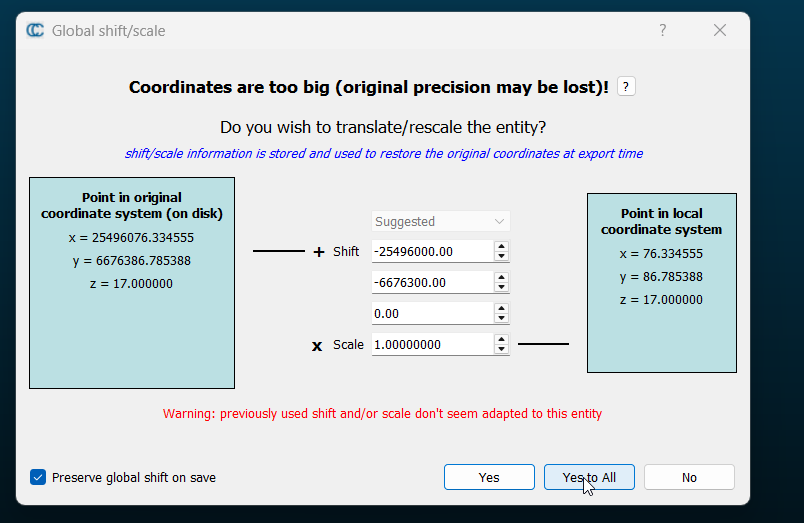
- Drag and drop your shape file with z values to CloudCompare
- Save “Yes to All” for translate/rescale of the entity.
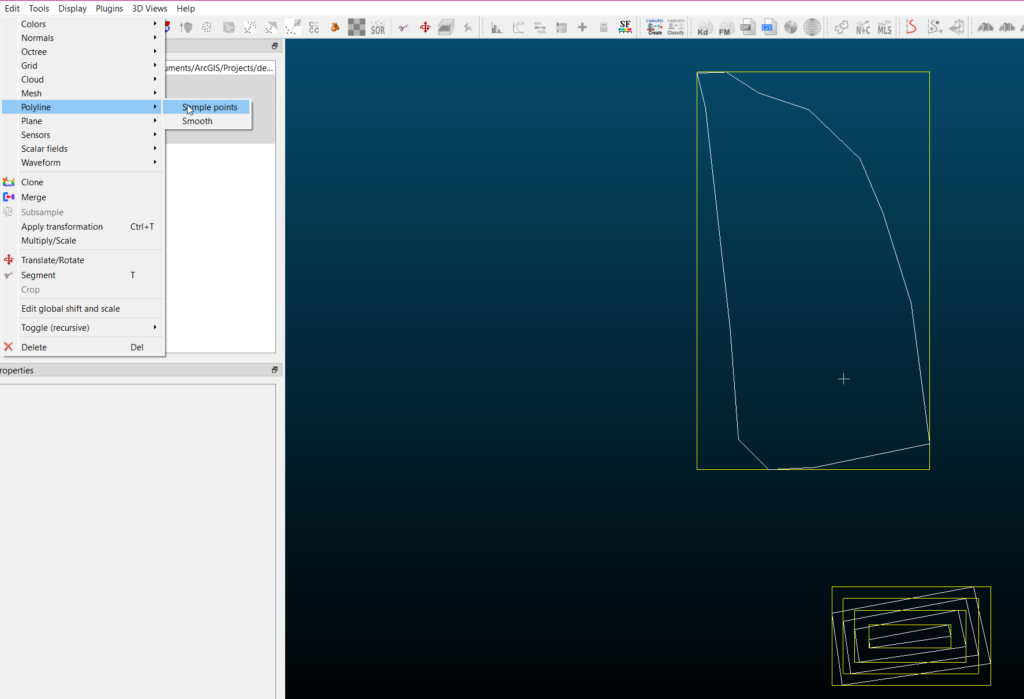
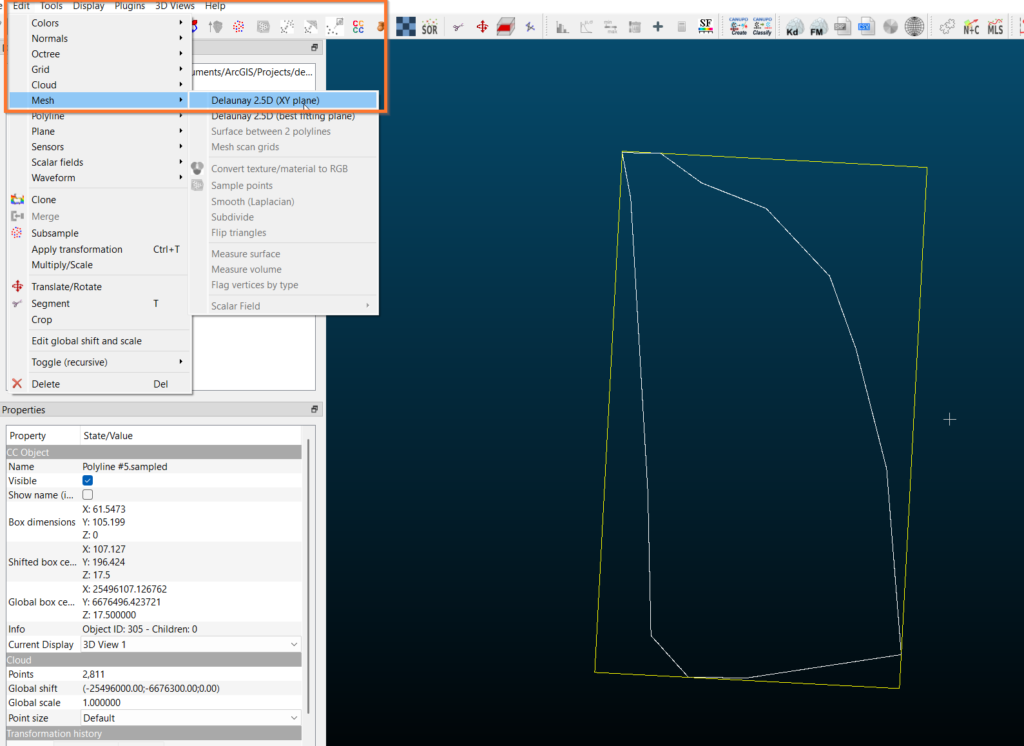
- Select all polylines in the layer list and then click Edit > Polyline > Sample Points
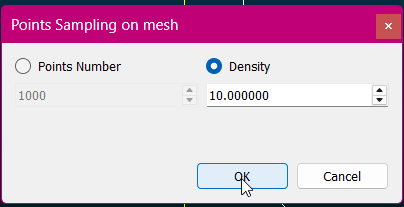
- Select point amount or density depending on the area complexity.
- About density = 10 is fine most of the time
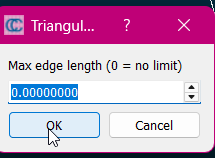
- If you have single areas you can select them all and then click Edit > Mesh > Delaunay 2.5D
- Max edge length = 0 is fine in most cases
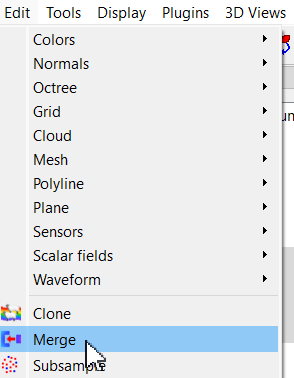
- If you are creating a pile, merge the sample points together before creating the mesh.
- Select all layers for merging into one and them click Edit > Merge
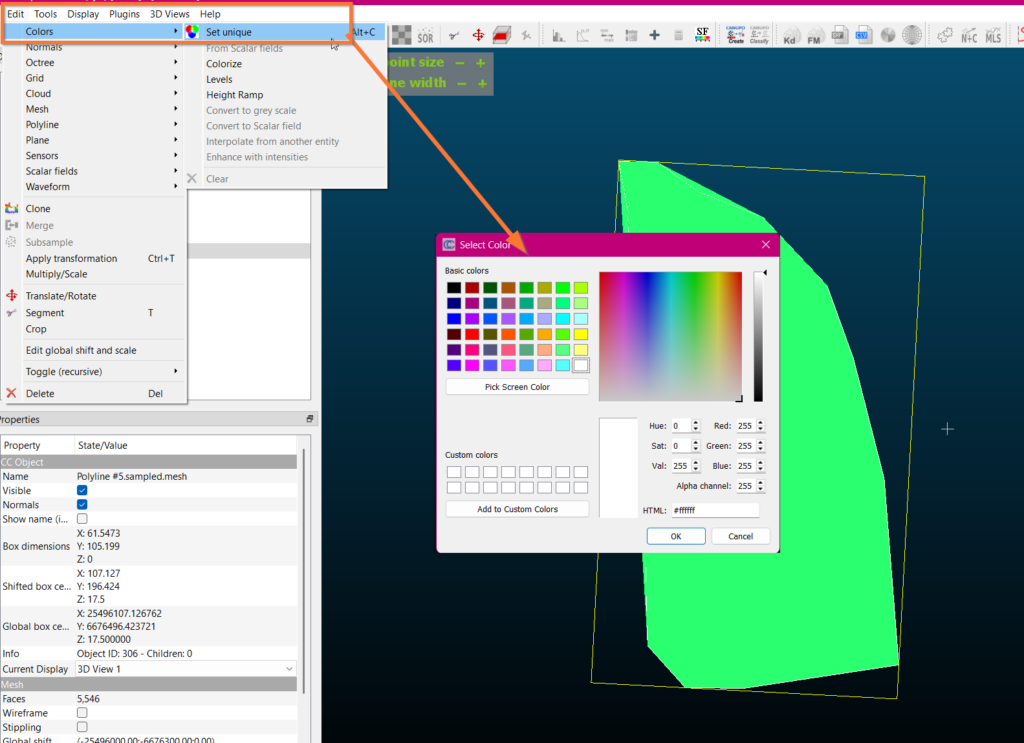
- Once you have a mesh, you can colour it if you need to.
- Click Edit > Colors > Set unique
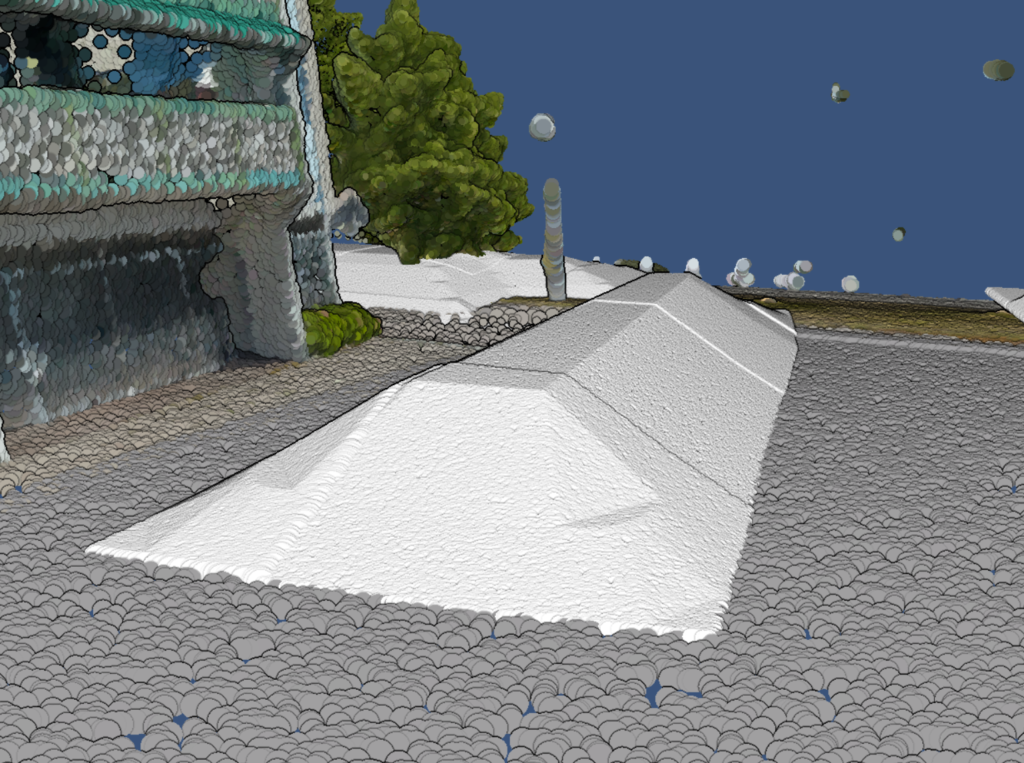
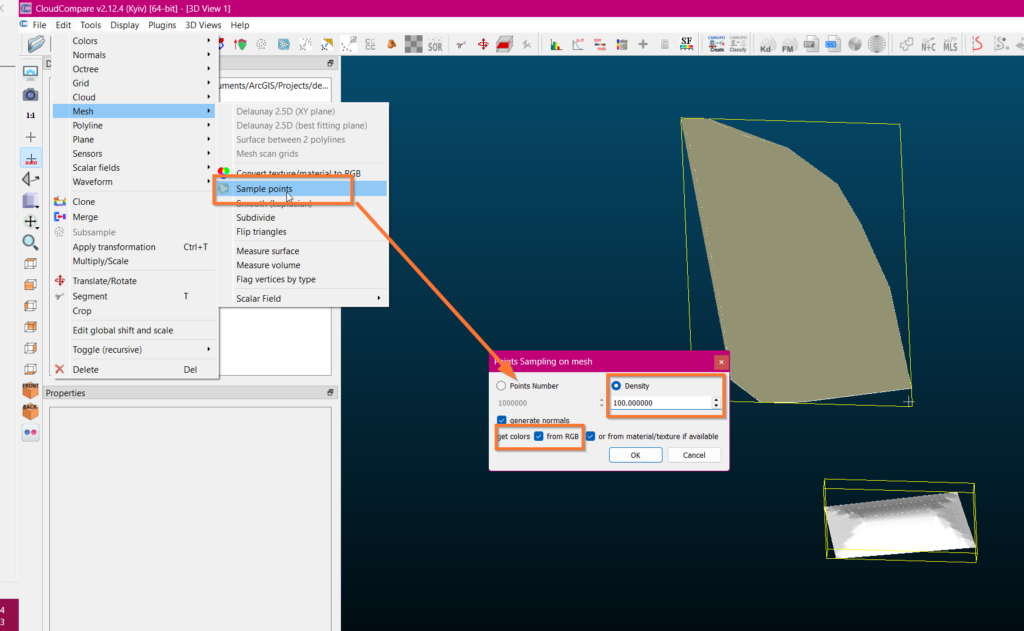
- Once your have your meshes, you can create sample points of those. That will be the final point cloud
- Select all mesh layers then click Edit > Mesh > Sample Points
- The density depends on your other point clouds. 100 is enough in most cases.
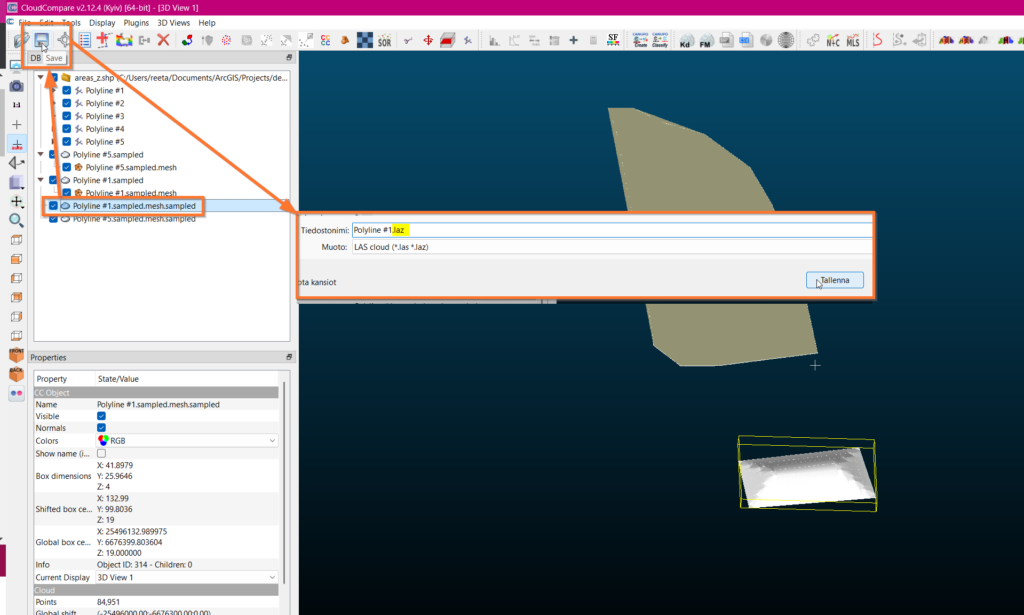
- You can merge the generated point clouds into one if needed.
- Edit > Merge
- Save point cloud as .laz, it is a compressed format and saves space compared to .las.
- You can click OK for the optimal resolution
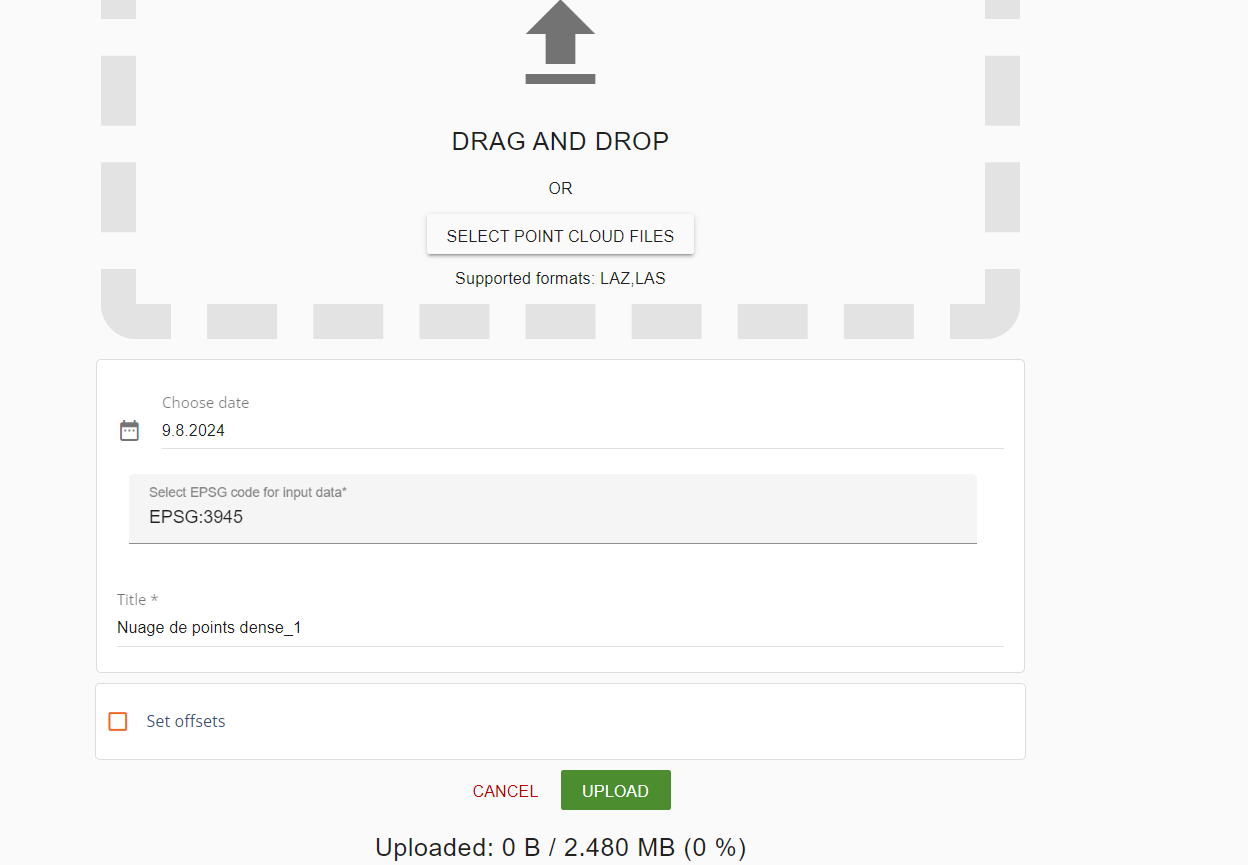
Now you have a new point cloud created from scratch! You can then upload the data to Pointscene to be connected with other data: